How I Replaced Revue With a Custom-Built Newsletter Service Using Nuxt 3, Supabase, Serverless, and Amazon SES
Michael Hoffmann
@mokkapps

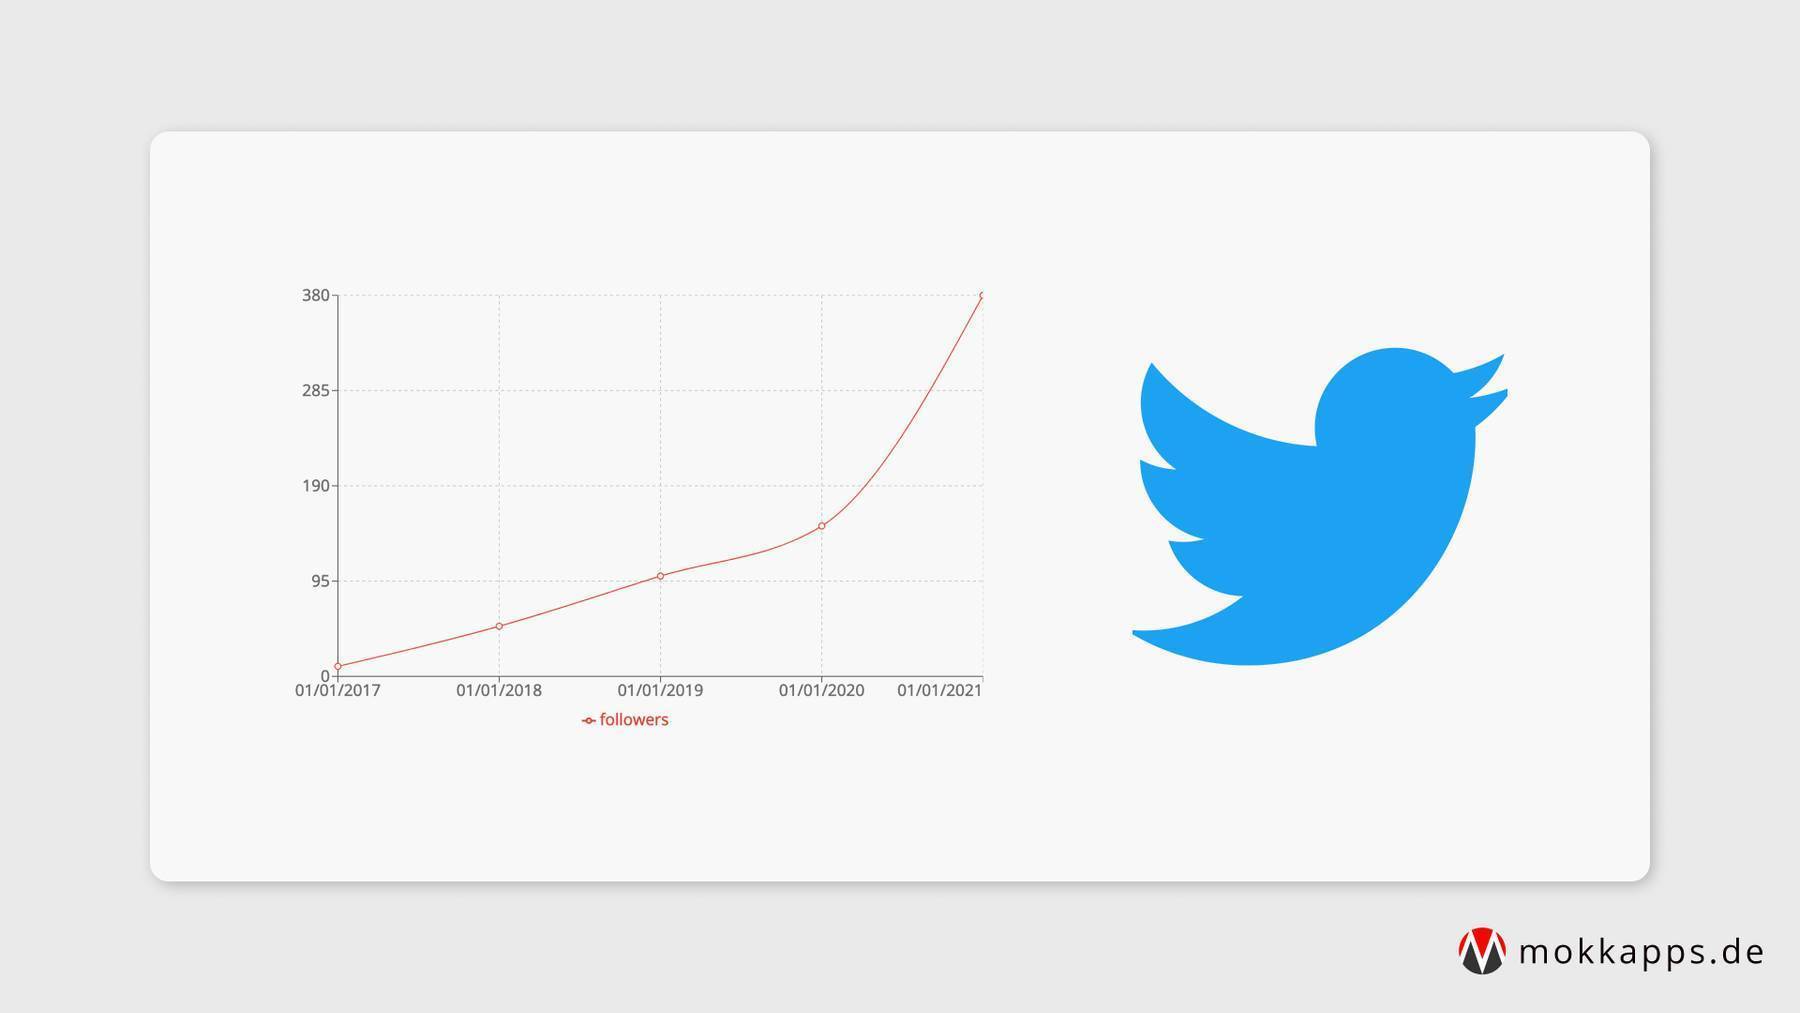
Twitter will shut down Revue on January 18, 2023, which I previously used as a newsletter provider for Weekly Vue News.
There exist potent alternatives like Substack, Buttondown, beehiv, and more. But I decided to build a custom solution for these reasons:
- Manage my content as Markdown files in my project's repository.
- Emails can use the same CSS styles as the website.
- A cheap solution that does not get too expensive.
This article explains how I built a custom newsletter service using Nuxt 3, Supabase, Serverless, and Amazon SES.
Backend
Let's start by looking at the backend code I use for my newsletter solution.
Database Model
I use Supabase to store two database tables.
The first table stores the list of subscribers and has the following schema:
id: primary key as an integercreated_at: timestamp indicating when the user was added to the tableemail: email address that should receive the newsletterverification_token: a UUID used for the confirmation emailunsubscribe_token: a UUID used for the unsubscribe mechanismverified: A boolean indicating if the user has confirmed the confirmation mail
The second table stores the list of scheduled issues and has the following schema:
id: primary key as an integerissue_id: the ID of the newsletter issuehtml: the html string that should be sent to the subscribers in the body of the emailtitle: a string which will is used as a subject in the emails sent to the subscribersscheduled_at: timestamp when the issue should or has been publishedpublished: A boolean indicating if the issue is publishedsend_count: A number that stores how many subscribers the issue has been sent tobeacon_data: JSON object that stores analytics information
Amazon SES
I decided to send emails using Amazon SES; this tutorial will teach you how to set up and get started using Amazon SES. I use Nodemailer with SES transport to send my emails using Amazon SES. Nodemailer SES transport is a wrapper around aws.SES from the @aws-sdk/client-ses package.
The main benefit is that Nodemailer provides rate limiting for SES out of the box. SES can tolerate short spikes, but you can’t flush all your emails at once and expect these to be delivered. Luckily, Amazon granted my request to increase the sending quota to 50,000 messages per day and a maximum sending rate of 14 messages per second.
A quick note about SES pricing: You pay only for what you use with no minimum fees or mandatory service usage. The current price is $0.10/1000 emails, which is cheap compared to other newsletter services like Substack, Buttondown or beehiv.
Enough theory; let's take a look at the code I wrote to wrap the Nodemailer integration:
import nodemailer from 'nodemailer'
import aws from '@aws-sdk/client-ses'

export const sendEmail = async (fromAddress: string, toAddress: string, subject: string, bodyHtml: string) => {
  const config = useRuntimeConfig()

  const ses = new aws.SES({
    region: 'eu-central-1',
    credentials: {
      accessKeyId: config.MY_AWS_ACCESS_KEY_ID,
      secretAccessKey: config.MY_AWS_SECRET_ACCESS_KEY,
    },
  })

  const transporter = nodemailer.createTransport({
    SES: { ses, aws },
    sendingRate: 14, // max 14 messages/second
  })

  return transporter.sendMail({ from: fromAddress, to: toAddress, subject, html: bodyHtml })
}
Subscribe
If a new user wants to subscribe to the newsletter, we need to trigger an endpoint that receives the user's email address:
import { serverSupabaseServiceRole } from '#supabase/server'
import { v4 as uuidv4 } from 'uuid'
import * as EmailValidator from 'email-validator'
import { sendEmail } from '~/lib/ses-client'
export default defineEventHandler(async (event) => {
const client = serverSupabaseServiceRole(event)
const body = await readBody(event)
const { email } = body
if (!email) {
console.error('Email is required')
return { error: 'Email is required' }
}
if (!EmailValidator.validate(email)) {
console.error(`Email ${email} is invalid`)
return { error: `Email ${email} is invalid` }
}
try {
const verificationToken = uuidv4()
const { error: insertError } = await client
.from('newsletter-subscribers')
.insert({ email, verification_token: verificationToken, unsubscribe_token: uuidv4() })
if (insertError) {
console.error('Failed to insert subscriber', insertError)
if (insertError.code === '23505') {
return { error: 'You are already subscribed with this email.' }
}
return { error: insertError }
}
const html = `
<div style="padding: 20px; display: flex; flex-direction: column; gap: 20px;">
<p>Hey, thanks for signing up for my weekly Vue newsletter!</p>
<p>Before I can send you any more emails though, I need you to confirm your subscription by clicking this link:</p>
<a href="https://weekly-vue.news/confirm-subscription?token=${verificationToken}" target="_blank" rel="noopener">👉 Confirm subscription</a>
</div>
`
return await sendEmail(email, 'Confirm registration', html)
} catch (e) {
console.error('Failed to send email.', e)
return { error: e }
}
})
Let's analyze the above code. The first step is to validate the email and return an error if it is missing or invalid:
import * as EmailValidator from 'email-validator'

if (!email) {
  console.error('Email is required')
  return { error: 'Email is required' }
}

if (!EmailValidator.validate(email)) {
  console.error(`Email ${email} is invalid`)
  return { error: `Email ${email} is invalid` }
}
Next, we try to insert a new subscriber into the subscriber table with the provided email and return an error if we already have a subscriber with the given email address:
const verificationToken = uuid4()

const { error: insertError } = await client
  .from('newsletter-subscribers')
  .insert({ email, verification_token: verificationToken, unsubscribe_token: uuidv4() })

if (insertError) {
  console.error('Failed to insert subscriber', insertError)
  if (insertError.code === '23505') {
    return { error: 'You are already subscribed with this email.' }
  }
  return { error: insertError }
}
Finally, we send the confirmation mail that contains a link with the generated verificationToken as query parameter:
const html = `
<div style="padding: 20px; display: flex; flex-direction: column; gap: 20px;">
<p>Hey, thanks for signing up for my weekly Vue newsletter!</p>
<p>Before I can send you any more emails though, I need you to confirm your subscription by clicking this link:</p>
<a href="https://weekly-vue.news/confirm-subscription?token=${verificationToken}" target="_blank" rel="noopener">👉 Confirm subscription</a>
</div>
`
return await sendEmail(email, 'Confirm registration', html)
Clicking on this link in the frontend will trigger the following backend endpoint:
import { serverSupabaseServiceRole } from '#supabase/server'

export default defineEventHandler(async (event) => {
  const client = serverSupabaseServiceRole(event)

  const query = getQuery(event)
  const { token } = query

  if (!token) {
    return { error: 'Verification token is missing' }
  }

  const { data: subscriberData, error: selectError } = await client
    .from('newsletter-subscribers')
    .select()
    .eq('verification_token', token)

  if (selectError) {
    console.error('Failed to confirm subscription', selectError)
    return { error: selectError.details }
  } else {
    const { error: updateError } = await client
      .from('newsletter-subscribers')
      .update({ verified: true })
      .eq('verification_token', token)

    if (updateError) {
      console.error('Update error', updateError)
      return { error: updateError }
    }

    return { error: null }
  }
})
We query the subscriber database for an entry where the verification_token equals the given token query parameter.
If an entry is found, we set its verified value to true.
A verified user is subscribed and will receive the newsletter emails.
- Ensuring compliance with the General Data Protection Regulation (GDPR): The GDPR requires that you obtain explicit consent from users before adding them to your newsletter subscriber list and processing their personal data, such as their email address.
- Ensuring that your newsletter subscribers are actively engaged: By requiring confirmation of subscription, you can ensure that only users who actively want to receive your newsletters will be added to your subscriber list. This can help prevent accidental or unwanted subscriptions and improve the quality of your subscriber list.
- Maintaining a clean and accurate contact list: By requiring confirmation of subscription, you can ensure that only those users who are truly interested in receiving your company updates will be added to your subscriber list. This can help you maintain a high-quality list of engaged and interested contacts.
Unsubscribe
Of course, we must provide a way to unsubscribe from the newsletter. It's mainly based on the unsubscribe_token column of the subscribers database table:
import { serverSupabaseServiceRole } from '#supabase/server'

export default defineEventHandler(async (event) => {
  const client = serverSupabaseServiceRole(event)

  const body = await readBody(event)
  const { token } = body

  if (!token) {
    console.error('Token is required')
    return { error: 'Token is required' }
  }

  try {
    const { error: deleteError, data } = await client
      .from('newsletter-subscribers')
      .delete()
      .eq('unsubscribe_token', token)

    if (deleteError) {
      console.error(`Failed to unsubscribe "${token}"`, deleteError)
      return { error: deleteError }
    }

    return { message: `Successfully unsubscribed "${token}"` }
  } catch (e) {
    console.error(`Failed to unsubscribe "${token}"`, e)
    return { error: e }
  }
})
We query the subscriber database for an entry where the unsubscribe_token equals the given token query parameter.
If an entry is found, we remove it from the database, so he will not receive any further newsletter emails.
Schedule Issue
We need to provide an endpoint to schedule an issue:
import { serverSupabaseServiceRole } from '#supabase/server'
import { Database } from '~/types/supabase'

export default defineEventHandler(async (event) => {
  const client = serverSupabaseServiceRole<Database>(event)

  const body = await readBody(event)
  const { issueId, html, title, scheduleDate } = body

  if (!issueId || !html || !title || !scheduleDate) {
    return {
      error: `Parameter missing, required are [issueId, html, title, scheduleDate]. Received: ${JSON.stringify(body)}`,
    }
  }

  const { error: insertIssueError } = await client.from('newsletter-issues').upsert(
    {
      issue_id: issueId,
      html: html,
      title: title,
      published: false,
      scheduled_at: scheduleDate,
    },
    { onConflict: 'issue_id' }
  )

  if (insertIssueError) {
    console.error('Failed to upsert issue', insertIssueError)
    return { error: 'Failed to upsert issue' }
  }

  return { error: null }
})
This simple function upserts an issue based on the given parameters in the event body.
Serverless Cron Function
My newsletter is sent every Monday at 3 pm. I wrote a serverless cron function that checks if a scheduled issue exists and then sends it to all subscribers. Therefore I used the Serverless framework.
The serverless configuration:
org: org
app: app
service: service

frameworkVersion: '3'

provider:
  name: aws
  region: eu-central-1
  runtime: nodejs14.x
  environment:
    SUPABASE_URL: ${ssm:secret-supabase-url}
    SUPABASE_SERVICE_KEY: ${ssm:secret-supabase-service-key}

functions:
  publish:
    handler: publish.run
    timeout: 900
    events:
      - http:
          method: 'POST'
          path: /newsletter/publish
          async: true
          cors: true
      # Invoke Lambda function weekly on Monday at 3pm
      - schedule: cron(0 14 ? * MON *)
And the corresponding code for the Lambda function. I removed the error handling in the following code snippet to keep the code clean and concise:
'use strict'

const supabase = require('@supabase/supabase-js')
const aws = require('aws-sdk')
const nodemailer = require('nodemailer')

const FROM_ADDRESS = 'newsletter@weekly-vue.news'

module.exports.run = async (event, context) => {
  let requestBody = event
  if (event.body) {
    try {
      requestBody = JSON.parse(event.body)
    } catch (error) {
      requestBody = event.body
    }
  }

  const time = new Date()
  console.log(`Cron function "${context.functionName}" ran at ${time} with event ${JSON.stringify(requestBody)}`)

  const supabaseClient = supabase.createClient(process.env.SUPABASE_URL, process.env.SUPABASE_SERVICE_KEY)
  const ses = new aws.SES()
  const transporter = nodemailer.createTransport({
    SES: { ses, aws },
    sendingRate: 14, // max 14 messages/second
  })

  // get verified subscribers
  const { data: subscriberData, error: selectError } = await supabaseClient
    .from('newsletter-subscribers')
    .select()
    .eq('verified', true)

  // get stored issue that haven't been published
  let { data: unpublishedNewsletterIssues, error: selectIssuesError } = await supabaseClient
    .from('newsletter-issues')
    .select()
    .eq('published', false)

  /** ⚠️☠️ SENDING MAILS TO ALL SUBSCRIBERS ⚠️☠️ */
  // find scheduled issue
  const todayDate = new Date()
  const issueScheduledForToday = unpublishedNewsletterIssues.find((issue) => {
    const issueScheduleDate = new Date(issue.scheduled_at)
    return (
      todayDate.getFullYear() === issueScheduleDate.getFullYear() &&
      todayDate.getMonth() === issueScheduleDate.getMonth() &&
      todayDate.getDate() === issueScheduleDate.getDate()
    )
  })

  if (!issueScheduledForToday) {
    return {
      statusCode: 400,
      body: JSON.stringify({
        message: `Found no unpublished issue that is scheduled for today: ${JSON.stringify(
          unpublishedNewsletterIssues
        )}`,
      }),
    }
  } else {
    const emailValues = await Promise.allSettled(
      subscriberData.map(async (subscriber) => {
        const { email, unsubscribe_token } = subscriber

        return transporter.sendMail({
          from: FROM_ADDRESS,
          to: email,
          subject: issueScheduledForToday.title,
          html: issueScheduledForToday.html,
        })
      })
    )

    const successEmails = emailValues.filter((v) => v.status === 'fulfilled')
    const failedEmails = emailValues.filter((v) => v.status === 'rejected')

    console.log('Result sending emails', { successEmails: successEmails.length, failedEmails: failedEmails.length })

    // update published status
    const { error: updatePublishedError } = await supabaseClient
      .from('newsletter-issues')
      .update({
        published: true,
        send_count: successEmails.length,
      })
      .eq('issue_id', issueScheduledForToday.issue_id)
    if (updatePublishedError) {
      console.error('Failed to update published status', updatePublishedError)
    }

    return {
      statusCode: 200,
      body: JSON.stringify({
        total: subscriberData.length,
        success: successEmails.length,
        failures: failedEmails.length,
      }),
    }
  }
}
A lot is going on in this function; let's break it down:
- Initialize Supabase & Nodemailer clients
- Get all verified subscribers
- Get all stored issues that haven't been published yet
- Find the unpublished issue which
schedule_attimestamp is today - Send this issue to all verified subscribers
- Set
publishedto true and updatesend_countin the stored issue
Frontend
Let's look at the frontend part of my custom-built newsletter solution. I won't explain every component, as I mainly use Nuxt's Data Fetching composables to trigger the above-defined backend endpoints and display the result.
But one interesting aspect is the generation of the HTML string I send via email to my subscribers.
Generating HTML string of the rendered Markdown file
I use Nuxt Content to store my newsletter issues as Markdown files. Here is a simple example:
---
title: 'Weekly Vue News #3 - Any Tip'
date: '2023-01-02T13:00:00.231Z'
id: 3
---

:issue-header

Hi 👋

Have a nice week ☀️
:divider

## Vue Tip: Any Tip

## Curated Vue Content

::external-link{url="https://github.com/RomanHotsiy/commitgpt" title="🛠️ commitgpt"}
👉🏻 Automatically generate commit messages using ChatGPT.
::

## Quote of the week

## JavaScript Tip: Any Tip

## Curated Web Development Content
These files are rendered on a Nuxt page using <ContentRenderer> from Nuxt Content :
<script setup lang="ts">
const route = useRoute()
const user = useSupabaseUser()

const content = ref(null)

const { data } = await useAsyncData('issue', () => queryContent(route.path).findOne())
</script>

<template>
  <main>
    <IssueAdminControls v-if="user" :issue="data" :content-html="content?.outerHTML" />
    <div v-if="data" ref="content">
      <ContentDoc v-slot="{ doc }">
        <h1>{{ doc.title }}</h1>
        <ContentRenderer :value="doc" />
      </ContentDoc>
    </div>
    <div v-else>
      <h1>Not Found</h1>
      <div class="flex justify-center">
        <NuxtLink to="/issues">Browse issues</NuxtLink>
      </div>
    </div>
  </main>
</template>
Using Supabase Auth I provide a way to log in as admin and scheduling issues:
<script lang="ts" setup>
import { Ref } from 'vue'
import juice from 'juice'
import { ParsedContent } from '@nuxt/content/dist/runtime/types'

const props = withDefaults(defineProps<{ issue: ParsedContent | null; contentHtml?: string }>(), {})

const scheduleDate = ref(null)

const { data: issueData, error: issueError, pending } = await useFetch(`/api/issue?issueId=${props.issue?.id}`)

const getHtml = (): string => {
  if (!props.contentHtml) {
    return '<p>Oops, here should be some content....</p>'
  }

  const allCSS = [...document.styleSheets]
    .map((styleSheet) => {
      try {
        return [...styleSheet.cssRules].map((rule) => rule.cssText).join('')
      } catch (e) {
        console.log('Access to stylesheet %s is denied. Ignoring...', styleSheet.href)
      }
    })
    .filter(Boolean)
    .join('\n')

  return juice(`<!DOCTYPE html PUBLIC "-//W3C//DTD XHTML 1.0 Transitional//EN" "http://www.w3.org/TR/xhtml1/DTD/xhtml1-transitional.dtd">
<html xmlns="http://www.w3.org/1999/xhtml" lang="en">
<head>
  <meta http-equiv="Content-Type" content="text/html charset=UTF-8" />
  <meta name="viewport" content="width=device-width, initial-scale=1.0" />
  <style>
    body { padding: 20px; background: white !important; color: black !important; }
    a { color: black !important }
    hr { border-color: black !important }
    h1,h2,h3,h4,h5,h6 { color: black !important }
    blockquote > p { color: white !important }
    code { color: white !important }
  </style>
  <style>${allCSS}</style>
</head>
<body>
  ${props.contentHtml.replace(/<!--(?:(?!-->)[\s\S])*-->/g, '')}
</body>
</html>`)
}

const schedule = async () => {
  const { data, error } = await useFetch('/api/issue', {
    method: 'POST',
    body: JSON.stringify({
      issueId: props.issue.id,
      html: getHtml(),
      title: props.issue.title,
      scheduleDate: scheduleDate.value,
    }),
  })
  // ...
}
</script>

<template>
  <div class="p-4 border border-orange-400 rounded-md mb-8">
    <h3>Admin Controls</h3>
    <div class="flex flex-wrap gap-8">
      <input v-model="scheduleDate" type="date" class="h-10 overflow-visible text-white" />
      <BaseButton :@click="schedule" class="bg-orange-400">Schedule</BaseButton>
    </div>
  </div>
</template>
Let's now focus on the getHtml() method in IssueAdminControls.vue that we use to generate an HTML string of the rendered Markdown content:
const getHtml = (): string => {
  if (!props.contentHtml) {
    return '<p>Oops, here should be some content....</p>'
  }

  const allCSS = [...document.styleSheets]
    .map((styleSheet) => {
      try {
        return [...styleSheet.cssRules].map((rule) => rule.cssText).join('')
      } catch (e) {
        console.log('Access to stylesheet %s is denied. Ignoring...', styleSheet.href)
      }
    })
    .filter(Boolean)
    .join('\n')

  return juice(`<!DOCTYPE html PUBLIC "-//W3C//DTD XHTML 1.0 Transitional//EN" "http://www.w3.org/TR/xhtml1/DTD/xhtml1-transitional.dtd">
<html xmlns="http://www.w3.org/1999/xhtml" lang="en">
<head>
  <meta http-equiv="Content-Type" content="text/html charset=UTF-8" />
  <meta name="viewport" content="width=device-width, initial-scale=1.0" />
  <style>
    body { padding: 20px; background: white !important; color: black !important; }
    a { color: black !important }
    hr { border-color: black !important }
    h1,h2,h3,h4,h5,h6 { color: black !important }
    blockquote > p { color: white !important }
    code { color: white !important }
  </style>
  <style>${allCSS}</style>
</head>
<body>
  ${props.contentHtml.replace(/<!--(?:(?!-->)[\s\S])*-->/g, '')}
</body>
</html>`)
}
The allCss variable collects all CSS stylesheets attached to the current document and joins their textual representation as string. I then use juice to inline all CSS properties into the style attribute.
I use props.contentHtml.replace(/<!--(?:(?!-->)[\s\S])*-->/g, '') to replace HTML comments from the outerHTML string that is passed to the component via the contentHtml property (check again the pages/issues/[...slug].vue component above). This setup worked well for my content and styles, but you likely need to adjust your implementation.
To schedule an issue, I send a POST request to /api/issue, which I already explained in the backend section.
Conclusion
I’m delighted with my solution. I’m 100% in control of my content and the emails I send to my subscribers!
It was a lot of hard work to build this thing, but I also learned a lot during this process. I hope this will help me grow my newsletter and keep the costs low for an increasing number of subscribers.
A special thanks to Simon Høiberg and Michael Thiessen that provided the technical inspiration for this solution.
Leave a comment if you have questions or feedback or can provide an alternative solution for such a custom-built newsletter service.
If you liked this article, follow me on Twitter to get notified about new blog posts and more content from me. Alternatively (or additionally), you can subscribe to my weekly Vue newsletter.


