Create a Table of Contents With Active States in Nuxt 3
Michael Hoffmann
@mokkapps

I'm a big fan of a table of contents (ToC) on the side of a blog post page, especially if it is a long article. It helps me gauge the article's length and allows me to navigate between the sections quickly.
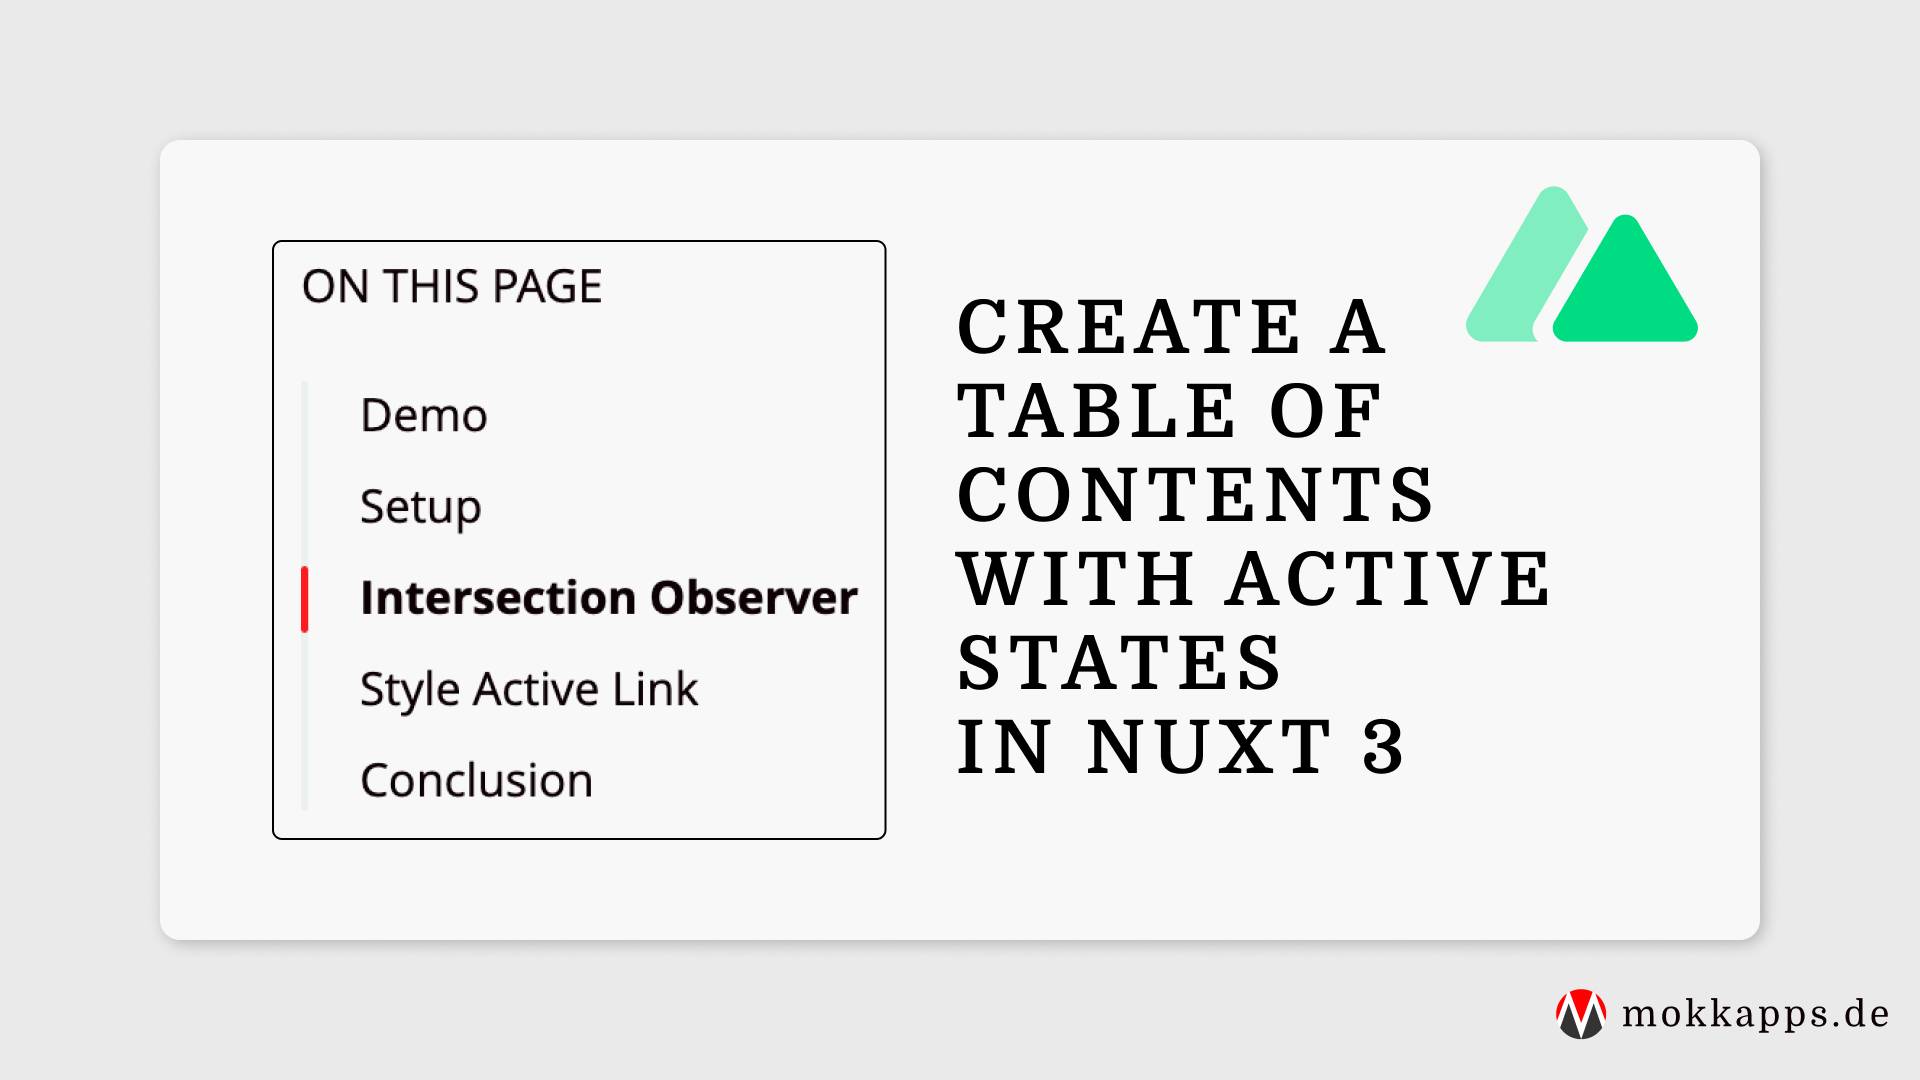
In this article, I will show you how to create a sticky table of contents sidebar with an active state based on the current scroll position using Nuxt 3, Nuxt Content and Intersection Observer.
Demo
The following StackBlitz contains the source code that is used in the following chapters:
Setup
For this demo, we need to initialize a Nuxt 3 project and install the Nuxt Content and Nuxt Tailwind (optional) modules.
We need to add these modules to nuxt.config.ts:
export default defineNuxtConfig({
  modules: ['@nuxt/content', '@nuxtjs/tailwindcss'],
})
Of course, we need some content to show the table of contents. For this demo, I will reference the index.md file from my StackBlitz demo.
To render this content, let's create a catch-all route in the pages directory:
<template>
  <main class="flex flex-col gap-4 p-4">
    <ContentDoc>
      <template #default="{ doc }">
        <div class="grid grid-cols-12 gap-8">
          <div class="nuxt-content col-span-8">
            <ContentRenderer ref="nuxtContent" :value="doc" />
          </div>
        </div>
      </template>
    </ContentDoc>
  </main>
</template>
The <ContentDoc> component fetches and renders a single document, and the <ContentRenderer> component renders the body of a Markdown document.
Check the official docs for more information about these Nuxt Content components.
Now let's add a TableOfContents.vue component to this template:
<script setup lang="ts">
const activeTocId = ref(null)
</script>

<template>
  <main class="flex flex-col gap-4 p-4">
    <ContentDoc>
      <template #default="{ doc }">
        <div class="grid grid-cols-12 gap-8">
          <div class="nuxt-content col-span-8">
            <ContentRenderer ref="nuxtContent" :value="doc" />
          </div>
          <div class="col-span-4 rounded-md border p-4">
            <div class="sticky top-0 flex flex-col items-center">
              <TableOfContents :activeTocId="activeTocId" />
            </div>
          </div>
        </div>
      </template>
    </ContentDoc>
  </main>
</template>
I'll explain the activeTocId prop in the following "Intersection Observer" chapter.
Let's take a look at the component's code:
<script setup lang="ts">
import { Ref } from 'vue'

const props = withDefaults(defineProps<{ activeTocId: string }>(), {})

const router = useRouter()

const { data: blogPost } = await useAsyncData(`blogToc`, () => queryContent(`/`).findOne())
const tocLinks = computed(() => blogPost.value?.body.toc.links ?? [])

const onClick = (id: string) => {
  const el = document.getElementById(id)
  if (el) {
    router.push({ hash: `#${id}` })
    el.scrollIntoView({ behavior: 'smooth', block: 'center' })
  }
}
</script>

<template>
  <div class="max-h-82 overflow-auto">
    <h4>Table of Contents</h4>
    <nav class="mt-4 flex">
      <ul class="ml-0 pl-4">
        <li
          v-for="{ id, text, children } in tocLinks"
          :id="`toc-${id}`"
          :key="id"
          class="mb-2 ml-0 cursor-pointer list-none text-sm last:mb-0"
          @click="onClick(id)"
        >
          {{ text }}
          <ul v-if="children" class="my-2 ml-3">
            <li
              v-for="{ id: childId, text: childText } in children"
              :id="`toc-${childId}`"
              :key="childId"
              class="mb-2 ml-0 cursor-pointer list-none text-xs last:mb-0"
              @click.stop="onClick(childId)"
            >
              {{ childText }}
            </li>
          </ul>
        </li>
      </ul>
    </nav>
  </div>
</template>
Let's analyze this code:
To get a list of all available headlines, we use the queryContent composable and access them via body.toc.links:
const { data: blogPost } = await useAsyncData(`blogToc`, () => queryContent(`/`).findOne())
const tocLinks = computed(() => blogPost.value?.body.toc.links ?? [])
If someone clicks on a link in the ToC, we query the HTML element from the DOM, push the hash route and smoothly scroll the element into the viewport:
const onClick = (id: string) => {
  const el = document.getElementById(id)
  if (el) {
    router.push({ hash: `#${id}` })
    el.scrollIntoView({ behavior: 'smooth', block: 'center' })
  }
}
At this point, we can show a list of all the headlines of our content in the sidebar, but our ToC does not indicate which headline is currently visible.
Intersection Observer
We use the Intersection Observer to handle detecting when an element scrolls into our viewport. It's supported by almost every browser.
Nuxt Content automatically adds an id to each heading of our content files. Using document.querySelectorAll, we query all h2 and h3 elements associated with an id and use the Intersection Observer API to get informed when they scroll into view.
Let's go ahead and implement that logic:
<script setup lang="ts">
import { watchDebounced } from '@vueuse/core'

const activeTocId = ref(null)
const nuxtContent = ref(null)

const observer: Ref<IntersectionObserver | null | undefined> = ref(null)
const observerOptions = reactive({
  root: nuxtContent.value,
  threshold: 0.5,
})

onMounted(() => {
  observer.value = new IntersectionObserver((entries) => {
    entries.forEach((entry) => {
      const id = entry.target.getAttribute('id')
      if (entry.isIntersecting) {
        activeTocId.value = id
      }
    })
  }, observerOptions)

  document.querySelectorAll('.nuxt-content h2[id], .nuxt-content h3[id]').forEach((section) => {
    observer.value?.observe(section)
  })
})

onUnmounted(() => {
  observer.value?.disconnect()
})
</script>
Let's break down the single steps that are happening in this code.
First, we define some reactive variables:
activeTocIdis used to track the currently active DOM element to be able to add some CSS styles to it.nuxtContentis a Template Ref to access the DOM element of theContentRenderercomponent.observeris used to track theh2andh3HTML elements that scroll into the viewport.observerOptionscontains a set of options that define when the observer callback is invoked. It contains thenuxtContentref as root for the observer and a threshold of 0.5, which means that if 50% of the way through the viewport is visible, the callback will fire. You can also set it to0; it will fire the callback if one element pixel is visible.
In the onMounted lifecycle hook, we are initializing the observer. We iterate over each article heading and set the activeTocId value if the entry intersects with the viewport. We also use document.querySelectorAll to target our .nuxt-content article and get the DOM elements that are either h2 or h3 elements with IDs and observe those using our previously initialized IntersectionObserver.
Finally, we are disconnecting our observer in the onUnmounted lifecycle hook to inform the observer to no longer track these headings when we navigate away.
Style Active Link
Let's improve the code by applying styles to the activeTocId element in our table of contents component. It should be highlighted and show an indicator:
<script setup lang="ts">
import { watchDebounced } from '@vueuse/core'
import { Ref } from 'vue'

const props = withDefaults(defineProps<{ activeTocId: string }>(), {})

const router = useRouter()

const sliderHeight = useState('sliderHeight', () => 0)
const sliderTop = useState('sliderTop', () => 0)
const tocLinksH2: Ref<Array<HTMLElement>> = ref([])
const tocLinksH3: Ref<Array<HTMLElement>> = ref([])

const { data: blogPost } = await useAsyncData(`blogToc`, () => queryContent(`/`).findOne())
const tocLinks = computed(() => blogPost.value?.body.toc.links ?? [])

const onClick = (id: string) => {
  const el = document.getElementById(id)
  if (el) {
    router.push({ hash: `#${id}` })
    el.scrollIntoView({ behavior: 'smooth', block: 'center' })
  }
}

watchDebounced(
  () => props.activeTocId,
  (newActiveTocId) => {
    const h2Link = tocLinksH2.value.find((el: HTMLElement) => el.id === `toc-${newActiveTocId}`)
    const h3Link = tocLinksH3.value.find((el: HTMLElement) => el.id === `toc-${newActiveTocId}`)

    if (h2Link) {
      sliderHeight.value = h2Link.offsetHeight
      sliderTop.value = h2Link.offsetTop - 100
    } else if (h3Link) {
      sliderHeight.value = h3Link.offsetHeight
      sliderTop.value = h3Link.offsetTop - 100
    }
  },
  { debounce: 200, immediate: true }
)
</script>

<template>
  <div class="max-h-82 overflow-auto">
    <h4>Table of Contents</h4>
    <nav class="mt-4 flex">
      <div class="relative w-0.5 overflow-hidden rounded bg-secondary">
        <div
          class="
            absolute
            left-0
            w-full
            rounded
            bg-red-500
            transition-all
            duration-200
          "
          :style="{ height: `${sliderHeight}px`, top: `${sliderTop}px` }"
        ></div>
      </div>
      <ul class="ml-0 pl-4">
        <li
          v-for="{ id, text, children } in tocLinks"
          :id="`toc-${id}`"
          :key="id"
          ref="tocLinksH2"
          class="mb-2 ml-0 cursor-pointer list-none text-sm last:mb-0"
          :class="{ 'font-bold': id === activeTocId }"
          @click="onClick(id)"
        >
          {{ text }}
          <ul v-if="children" class="my-2 ml-3">
            <li
              v-for="{ id: childId, text: childText } in children"
              :id="`toc-${childId}`"
              :key="childId"
              ref="tocLinksH3"
              class="mb-2 ml-0 cursor-pointer list-none text-xs last:mb-0"
              :class="{ 'font-bold': childId === activeTocId }"
              @click.stop="onClick(childId)"
            >
              {{ childText }}
            </li>
          </ul>
        </li>
      </ul>
    </nav>
  </div>
</template>
We use the VueUse's watchDebounced composable to debounced watch changes of the active ToC element ID:
watchDebounced(
  () => props.activeTocId,
  (newActiveTocId) => {
    const h2Link = tocLinksH2.value.find((el: HTMLElement) => el.id === `toc-${newActiveTocId}`)
    const h3Link = tocLinksH3.value.find((el: HTMLElement) => el.id === `toc-${newActiveTocId}`)

    if (h2Link) {
      sliderHeight.value = h2Link.offsetHeight
      sliderTop.value = h2Link.offsetTop - 100
    } else if (h3Link) {
      sliderHeight.value = h3Link.offsetHeight
      sliderTop.value = h3Link.offsetTop - 100
    }
  },
  { debounce: 200, immediate: true }
)
Based on the current active ToC element ID, we find the HTML element from the list of available links and set the slider height & top values accordingly.
Check the StackBlitz demo for the full source code and to play around with this implementation. A similar ToC is also available on my blog.
Conclusion
I'm pleased with my table of contents implementation using Nuxt 3, Nuxt Content, and Intersection Observer.
Of course, you can use the Intersection Observer in a traditional Vue application without Nuxt. The Intersection Observer API is mighty and can also be used to implement features like lazy-loading images.
Leave a comment if you have a better solution to implement such a ToC.
If you liked this article, follow me on Twitter to get notified about new blog posts and more content from me.
Alternatively (or additionally), you can also subscribe to my newsletter.


