Blog
·
3 min read
How to Set Up an MCP Server for an Existing Nuxt App

Michael Hoffmann
@mokkapps
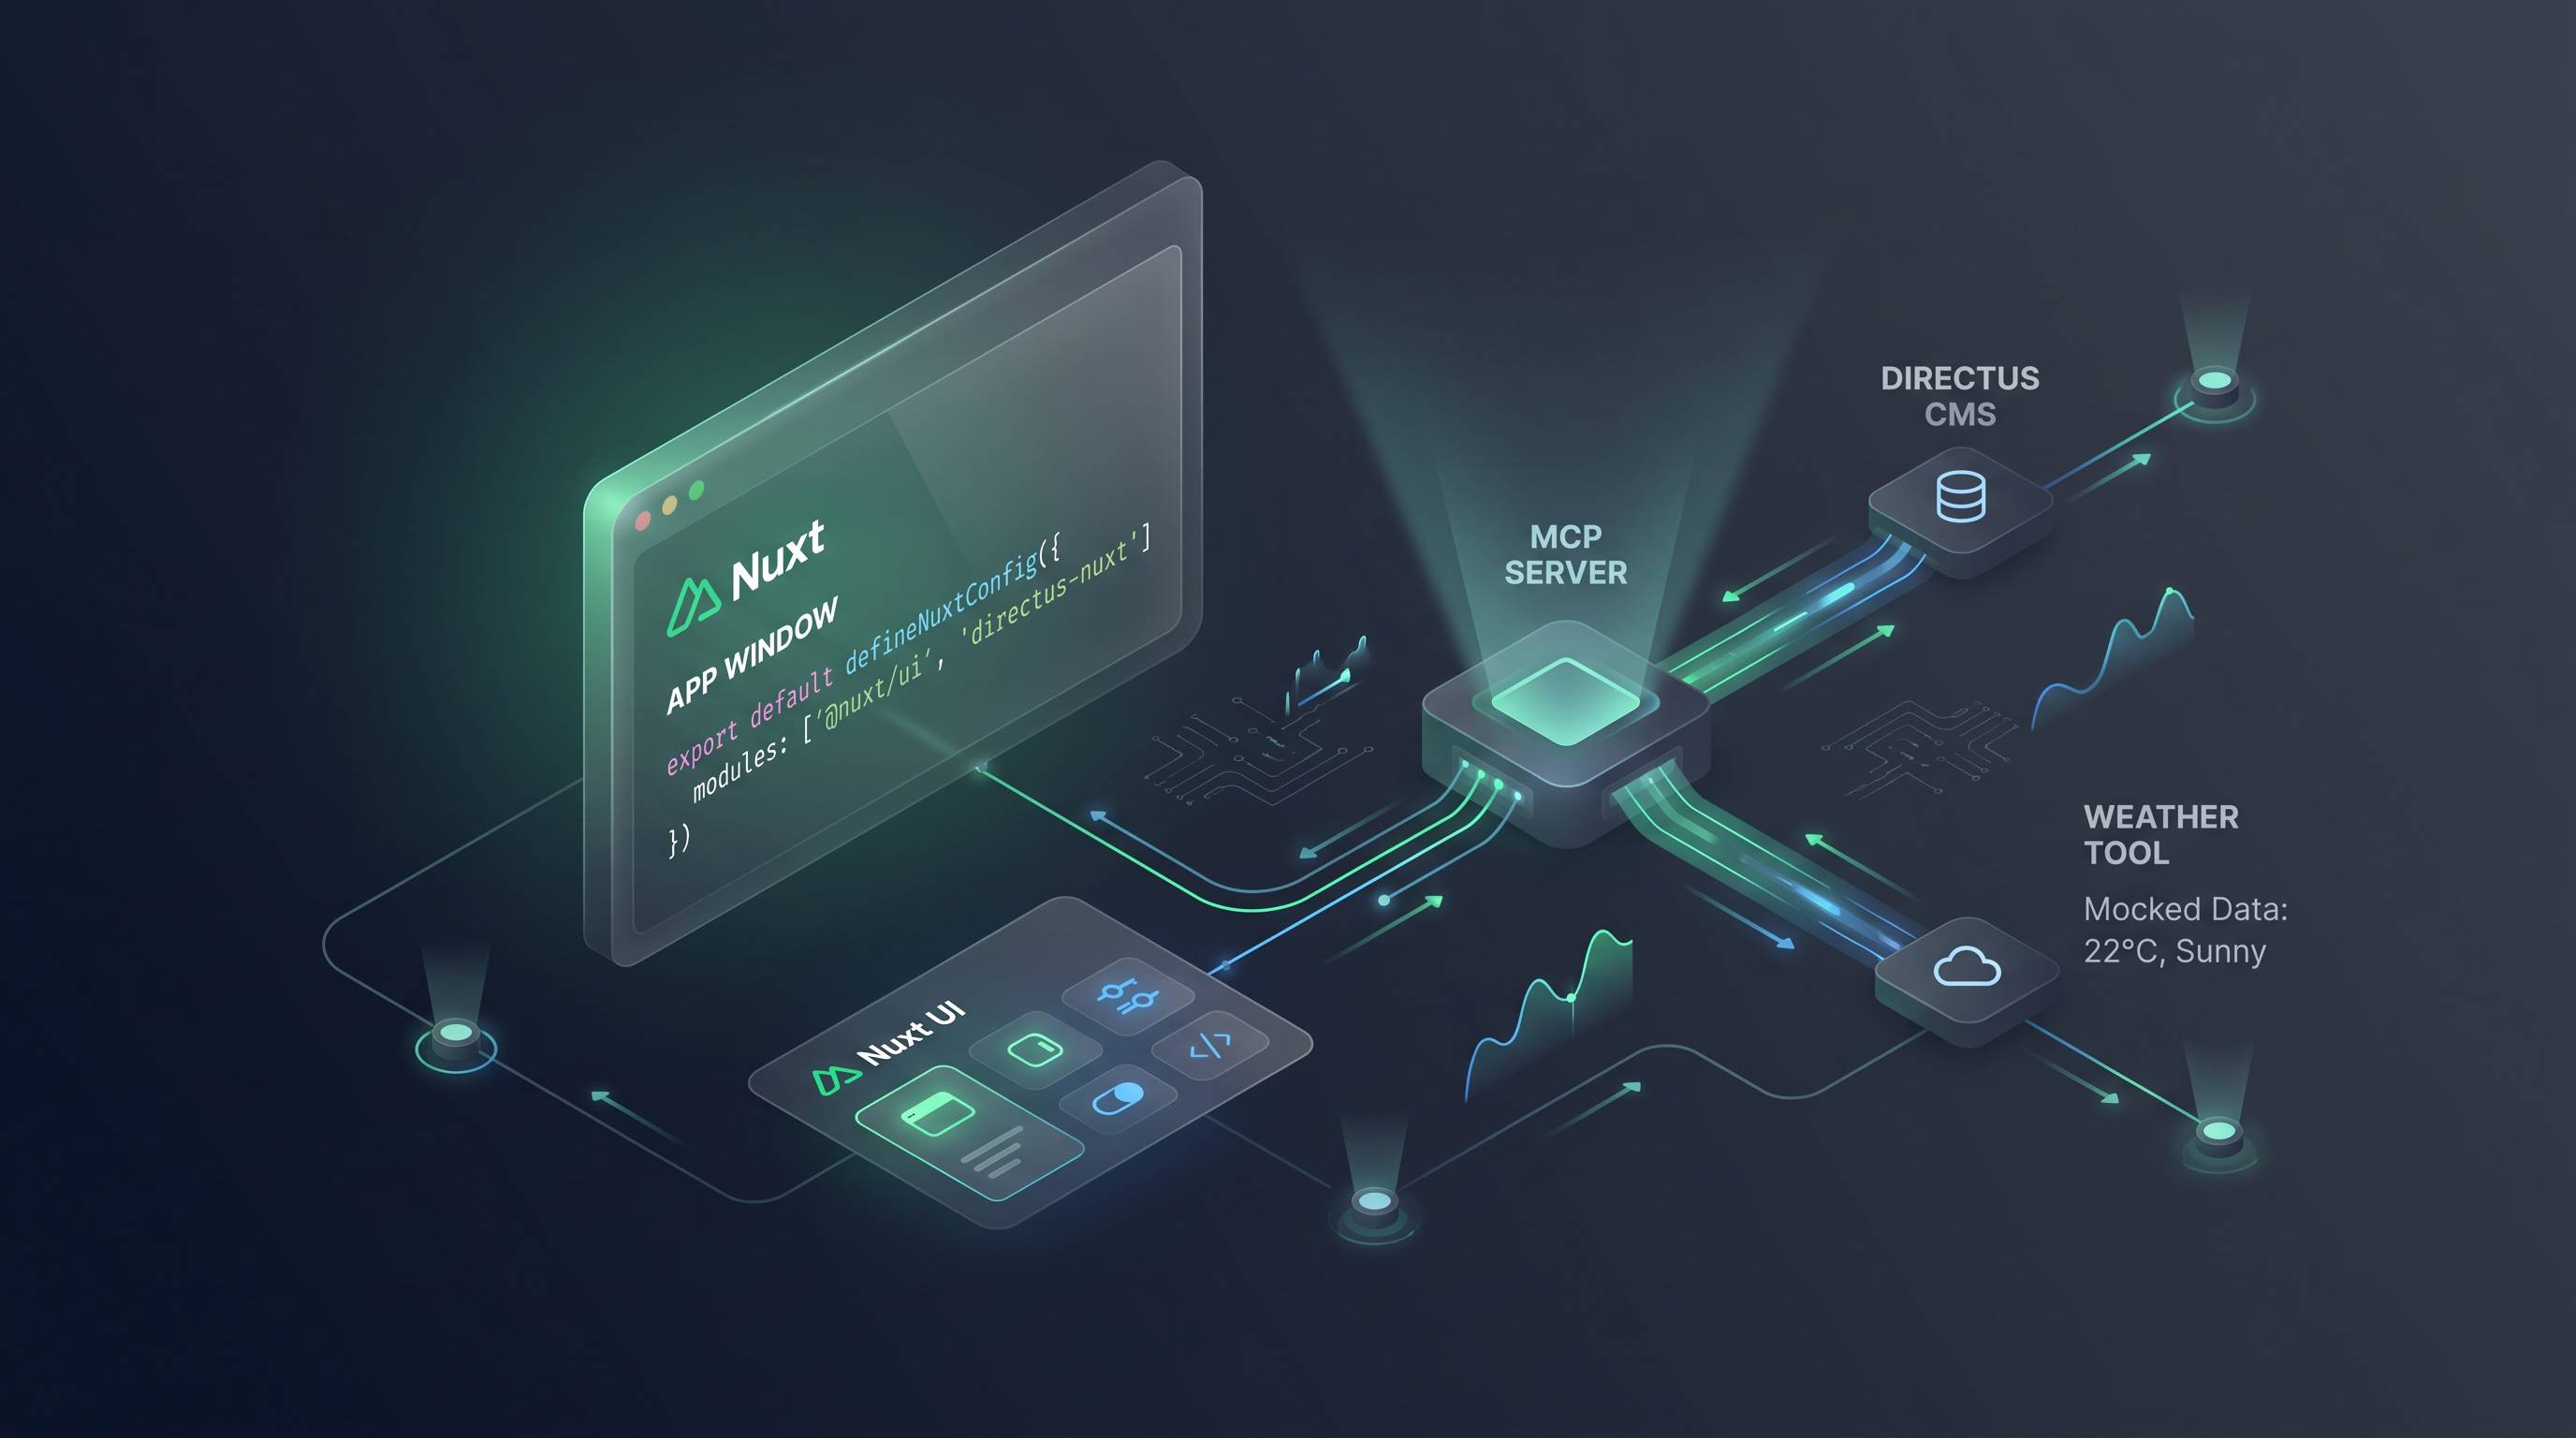
In this article, I'll show you how to add an MCP server to an existing Nuxt app with a practical, minimal example.
We will build a mocked weather tool using the Nuxt MCP Toolkit and expose it at /mcp. Everything runs locally, so you don't need API keys or external services.
What is MCP? (Beginner Intro)
MCP (Model Context Protocol) is a standard way for applications and AI agents to talk to tools and data sources.
In simple terms:
- an MCP server exposes tools (for example:
get_weather,search_docs,query_database) - an MCP client calls those tools
- both communicate through a shared protocol
The big benefit is that tools become reusable across different clients instead of being tightly coupled to one app.
In my daily work, my most used MCP servers are Nuxt, Nuxt UI, and Directus. Those integrations are really valuable because they provide better context to the agent and usually lead to much better output quality.
Why Nuxt MCP Toolkit?
Because this tutorial is Nuxt-specific, the best default is @nuxtjs/mcp-toolkit:
- native Nuxt module integration
- less boilerplate than wiring the low-level MCP SDK manually
- built-in conventions for tools, resources, and prompts
You can absolutely use the plain MCP SDK, but in most Nuxt projects, the toolkit gives you the fastest path.
What We Build
Inside your existing Nuxt project, we will create:
- Nuxt MCP Toolkit setup in
nuxt.config.ts - A weather tool in
server/mcp/tools/get-weather.ts - A local MCP endpoint at
http://localhost:3000/mcp - A quick local test via MCP Inspector / your IDE
1) Install Dependencies
Install the Nuxt MCP Toolkit:
pnpm add @nuxtjs/mcp-toolkit zod
Or let Nuxt install and configure it for you:
npx nuxt add mcp
2) Enable the Module
Add the module to your nuxt.config.ts:
nuxt.config.ts
export default defineNuxtConfig({
  modules: ['@nuxtjs/mcp-toolkit'],
  mcp: {
    name: 'My Nuxt Weather MCP Server',
    route: '/mcp',
  },
})
3) Create the Weather Tool
Create server/mcp/tools/get-weather.ts:
server/mcp/tools/get-weather.ts
import { z } from 'zod'

export default defineMcpTool({
  name: 'get-weather',
  description: 'Get mocked weather data for a city',
  inputSchema: {
    city: z.string().min(1).describe('City name, for example Berlin'),
  },
  handler: async ({ city }) => {
    const normalizedCity = city.trim().toLowerCase()

    const mockedWeatherByCity: Record<string, { temperatureC: number; condition: string }> = {
      berlin: { temperatureC: 24, condition: 'Sunny' },
      hamburg: { temperatureC: 20, condition: 'Cloudy' },
      munich: { temperatureC: 22, condition: 'Partly cloudy' },
    }

    const weather = mockedWeatherByCity[normalizedCity] ?? {
      temperatureC: 21,
      condition: 'Unknown (mock fallback)',
    }

    return {
      city,
      ...weather,
    }
  },
})
That is the full MCP tool. No manual MCP server bootstrapping is needed.
4) Run the App
Start Nuxt:
pnpm dev
Now your MCP endpoint is available at:
http://localhost:3000/mcp
5) Test the Tool
You can test the tool in two quick ways:
- Open MCP Inspector via Nuxt DevTools and call
get-weatherwith:
{
  "city": "Berlin"
}
- Connect your IDE to
http://localhost:3000/mcpand run the tool from there.
If you want a one-liner for local IDE setup, you can use:
npx add-mcp http://localhost:3000/mcp
Why This Pattern Is Useful
Even though this is a tiny example, the architecture scales nicely:
- swap mocked data with a real API later
- keep integrations behind MCP tools
- reuse the same tools across different AI clients
- stay inside Nuxt conventions instead of building MCP wiring from scratch
You can start with one tool and grow your MCP server over time.
Plain SDK vs Nuxt Toolkit
If you are working in Nuxt, I recommend the Nuxt MCP Toolkit as the default.
Use the plain MCP SDK directly if you need framework-agnostic infrastructure or want full low-level control.
Conclusion
Adding MCP to an existing Nuxt app is easier than it first looks.
With the Nuxt MCP Toolkit, you can focus on tool logic instead of protocol plumbing. Start with one small tool like get-weather, validate your workflow locally, and then evolve it into real integrations.