
·
7 min read
If you are developing the backend and frontend part of an application you know that it can be tricky to keep the data models between the backend & frontend code in sync. Luckily, we can use generators that generate server stubs, models, configuration and more based on a OpenAPI specification.
In this article, I want to demonstrate how you can implement such an OpenAPI generator in a demo application with an Angular frontend and a Spring Boot backend.
The Demo Application
For this article, I have created a simple demo application that provides a backend REST endpoint based on Spring Boot that returns a list of gaming news. The frontend based on Angular requests this list from the backend and renders the list of news.
The source code is available on GitHub.
The Angular frontend was generated with the Angular CLI and the Spring Boot backend with Spring Initializr.
OpenAPI
The OpenAPI specification is defined as
a standard, language-agnostic interface to RESTful APIs which allows both humans and computers to discover and understand the capabilities of the service without access to source code, documentation, or through network traffic inspection
Such an OpenAPI definition can be used by tools for testing, to generate documentation, server and client code in various programming languages, and many other use cases.
The specification has undergone three revisions since its initial creation in 2010. The latest version is 3.0.2 (as of 02.03.2020).
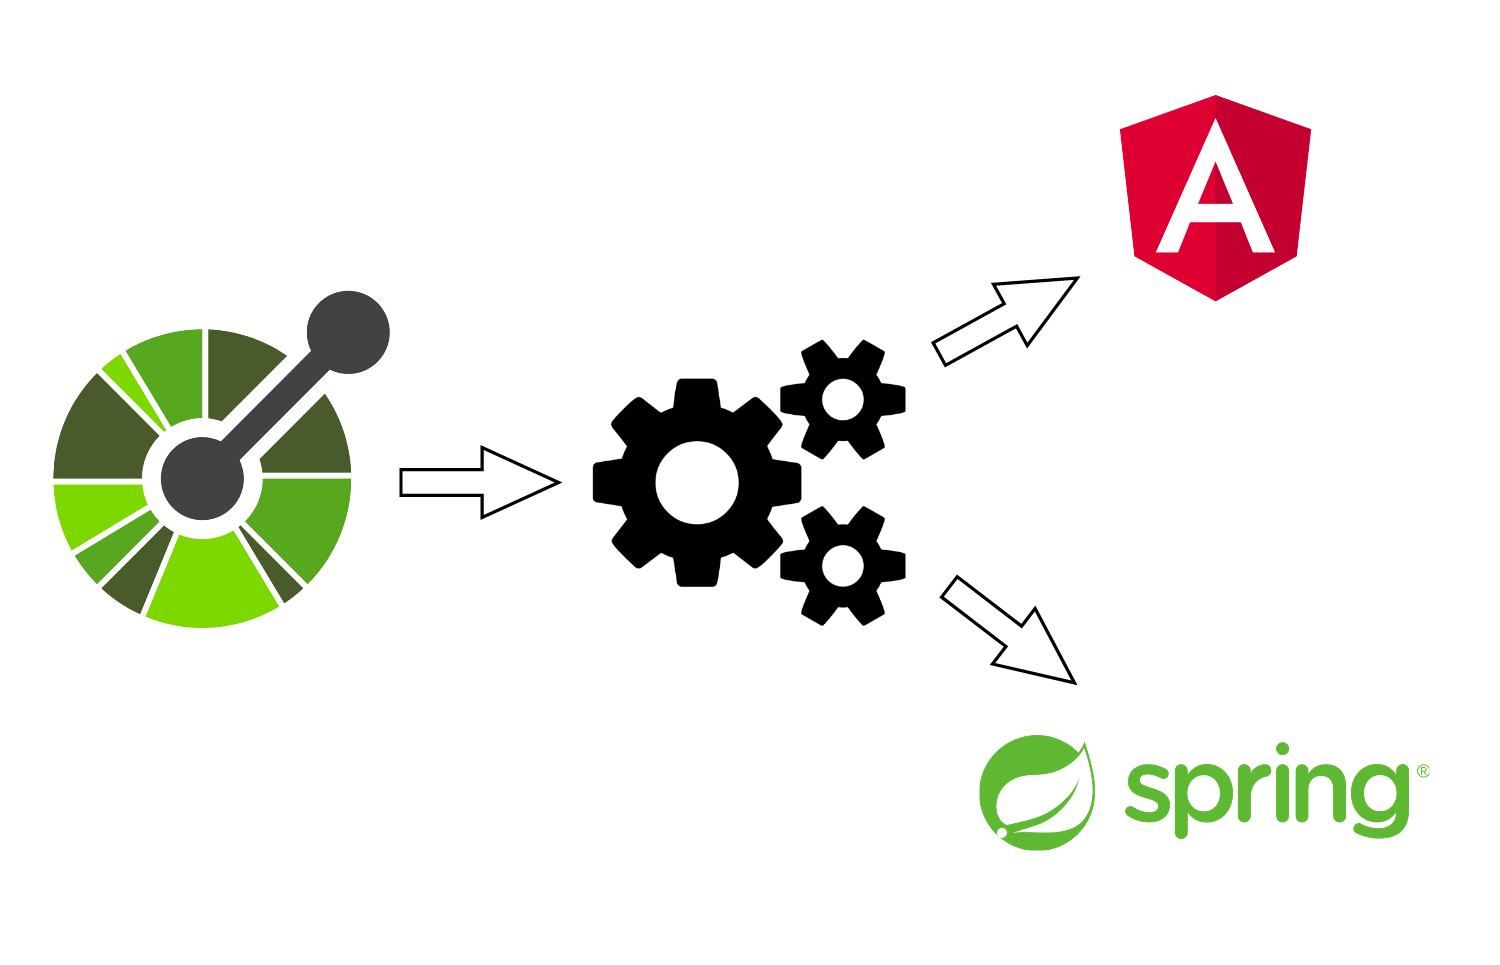
OpenAPI Generator
In this article, I want to focus on code generators, especially on the openapi-generator from OpenAPI Tools.
This picture taken from the project's GitHub repository shows the impressive list of supported languages and frameworks:

For this article's demo project the @openapitools/openapi-generator-cli package is used to generate the Angular code via npm and openapi-generator-gradle-plugin to generate the Spring code using Gradle.
OpenAPI Schema Definition
The OpenAPI code generator needs a yaml schema definition file which includes all relevant information about the API code that should be generated.
Based on the official petstore.yaml example I created a simple schema.yaml file for the demo news application:
yaml
1openapi: '3.0.0'
2servers:
3  - url: http://localhost:8080/api
4info:
5  version: 1.0.0
6  title: Gaming News API
7paths:
8  /news:
9    summary: Get list of latest gaming news
10    get:
11      tags:
12        - News
13      summary: Get list of latest gaming news
14      operationId: getNews
15      responses:
16        '200':
17          description: Expected response to a valid request
18          content:
19            application/json:
20              schema:
21                $ref: '#/components/schemas/ArticleList'
22
23components:
24  schemas:
25    ArticleList:
26      type: array
27      items:
28        $ref: '#/components/schema/Article'
29    Article:
30      required:
31        - id
32        - title
33        - date
34        - description
35        - imageUrl
36      properties:
37        id:
38          type: string
39          format: uuid
40        title:
41          type: string
42        date:
43          type: string
44          format: date
45        description:
46          type: string
47        imageUrl:
48          type: string
Let's take a look at the most important parts of this file:
openapi: The version of the OpenAPI specificationservers -> url: The backend URLinfo: General API informationpaths: This section defines the API endpoints. In our case, we have one GET endpoint at/newswhich returns a list of articles.components: Describes the structure of the payload
For more information about the schema definition, you can take a look at the basic structure or at the full specification (in this case for v3).
Generate backend code based on this schema
In this section, I will demonstrate how the backend code for Spring Boot can be generated based on our schema definition.
The first step is to modify the build.gradle file:
1plugins {
2    id "org.openapi.generator" version "4.2.3"
3}
4
5compileJava.dependsOn('openApiGenerate')
6
7sourceSets {
8    main {
9        java {
10            srcDir "${rootDir}/backend/openapi/src/main/java"
11        }
12    }
13}
14
15openApiValidate {
16    inputSpec = "${rootDir}/openapi/schema.yaml".toString()
17}
18
19openApiGenerate {
20    generatorName = "spring"
21    library = "spring-boot"
22    inputSpec = "${rootDir}/openapi/schema.yaml".toString()
23    outputDir = "${rootDir}/backend/openapi".toString()
24    systemProperties = [
25            modelDocs      : "false",
26            models         : "",
27            apis           : "",
28            supportingFiles: "false"
29    ]
30    configOptions = [
31            useOptional          : "true",
32            swaggerDocketConfig  : "false",
33            performBeanValidation: "false",
34            useBeanValidation    : "false",
35            useTags              : "true",
36            singleContentTypes   : "true",
37            basePackage          : "de.mokkapps.gamenews.api",
38            configPackage        : "de.mokkapps.gamenews.api",
39            title                : rootProject.name,
40            java8                : "false",
41            dateLibrary          : "java8",
42            serializableModel    : "true",
43            artifactId           : rootProject.name,
44            apiPackage           : "de.mokkapps.gamenews.api",
45            modelPackage         : "de.mokkapps.gamenews.api.model",
46            invokerPackage       : "de.mokkapps.gamenews.api",
47            interfaceOnly        : "true"
48    ]
49}
As you can see, two new Gradle tasks are defined: openApiValidate and openApiGenerate. The first task can be used to validate the schema definition, and the second task generates the code.
To be able to reference the generated code in the Spring Boot application it needs to be configured as sourceSet. Additionally, it is recommended to define compileJava.dependsOn('openApiGenerate') to ensure that the code is generated each time the Java code is compiled.
For the backend code, we just want to generate models and interfaces, which is done in configOptions by setting interfaceOnly: "true".
Detailed documentation about all possible configuration options can be found at the official GitHub repository.
Running ./gradlew openApiGenerate produces this code:

Make sure to add this folder with generated code to your .gitignore file and exclude it from code coverage & analysis tools.
At this point, we can use the generated code in our Spring Boot backend. The first step is to create a Controller which implements the generated OpenAPI interface:
1import de.mokkapps.gamenews.api.NewsApi;
2
3@RequestMapping("/api")
4@Controller
5public class NewsController implements NewsApi {
6    private final NewsService newsService;
7
8    public NewsController(NewsService newsService) {
9        this.newsService = newsService;
10    }
11
12    @Override
13    @GetMapping("/news")
14    @CrossOrigin(origins = "http://localhost:4200")
15    @ApiOperation("Returns list of latest news")
16    public ResponseEntity<List<Article>> getNews() {
17        return new ResponseEntity<>(this.newsService.getNews(), HttpStatus.OK);
18    }
19}
This GET endpoint is available at /api/news and returns a list of news that is provided by NewsService which just returns a dummy news article:
1@Service
2public class NewsService {
3    public List<Article> getNews() {
4        List<Article> articles = new ArrayList<>();
5        Article article = new Article();
6        article.setDate(LocalDate.now());
7        article.setDescription("An article description");
8        article.setId(UUID.randomUUID());
9        article.setImageUrl("https://images.unsplash.com/photo-1493711662062-fa541adb3fc8?ixlib=rb-1.2.1&ixid=eyJhcHBfaWQiOjEyMDd9&auto=format&fit=crop&w=3450&q=80");
10        article.setTitle("A title");
11        articles.add(article);
12        return articles;
13    }
14}
@CrossOrigin(origins = "http://localhost:4200") allows requests from our frontend during local development and @ApiOperation("Returns list of latest news") is used for Swagger UI which is configured in SpringConfig.jav.
Finally, we can run the backend using ./gradlew bootRun and trigger the news endpoint
bash
curl -v http://localhost:8080/api/newswhich returns this JSON payload:
json
1[
2  {
3    "id": "75f71b92-d1e5-43dd-862f-739b69cdf3aa",
4    "title": "A title",
5    "date": "2020-02-26",
6    "description": "An article description",
7    "imageUrl": "https://images.unsplash.com/photo-1493711662062-fa541adb3fc8?ixlib=rb-1.2.1&ixid=eyJhcHBfaWQiOjEyMDd9&auto=format&fit=crop&w=3450&q=80"
8  }
9]
Generate frontend code based on this schema
In this section, I want to describe how Angular code can be generated based on our schema definition.
First, the OpenAPI generator CLI needs to be added as npm dependency:
bash
npm add @openapitools/openapi-generator-cliNext step is to create a new npm script in package.json that generates the code based on the OpenAPI schema:
json
1{
2  "scripts": {
3    "generate:api": "openapi-generator generate -g typescript-angular -i ../openapi/schema.yaml -o ./build/openapi"
4  }
5}
This script generates the code inside the frontend/build/openapi folder:

Make sure to add this folder with generated code to your .gitignore file and exclude it from code coverage & analysis tools.
It is also important to run this code generation script each time you run, test or build your application. I would, therefore, recommend using the pre syntax for npm scripts:
json
1{
2  "scripts": {
3    "generate:api": "openapi-generator generate -g typescript-angular -i ../openapi/schema.yaml -o ./build/openapi",
4    "prestart": "npm run generate:api",
5    "start": "ng serve",
6    "prebuild": "npm run generate:api",
7    "build": "ng build"
8  }
9}
Finally, we can import the generated module in our Angular application in app.module.ts:
1import { ApiModule } from 'build/openapi/api.module'
2
3@NgModule({
4  declarations: [AppComponent],
5  imports: [BrowserModule, HttpClientModule, ApiModule],
6  providers: [],
7  bootstrap: [AppComponent],
8})
9export class AppModule {}
Now we are ready and can use the generated code in the frontend part of the demo application. This is done in app.component.ts:
1import { NewsService } from 'build/openapi/api/news.service'
2
3@Component({
4  selector: 'app-root',
5  templateUrl: './app.component.html',
6  styleUrls: ['./app.component.css'],
7})
8export class AppComponent {
9  title = 'frontend'
10  $articles = this.newsService.getNews()
11
12  constructor(private readonly newsService: NewsService) {}
13}
Last step is to use the AsyncPipe in the HTML to render the articles:
1<h1>News</h1>
2
3<div *ngFor="let article of $articles | async">
4  <p>Title: {{article.title}}</p>
5  <img [src]="article.imageUrl" width="400" alt="Article image" />
6  <p>Date: {{article.date}}</p>
7  <p>Description: {{article.description}}</p>
8  <p>ID: {{article.id}}</p>
9</div>
If your backend is running locally, you can now serve the frontend by calling npm start and open a browser on http://localhost:4200 and you should see the dummy article:

Alternative
Of course, it is also possible to generate the frontend code if you have no control over the backend code but is supports OpenAPI.
It is then necessary to adjust the npm script to use the backend URL instead of referencing the local schema file:
json
1{
2  "scripts": {
3    "generate:api": "openapi-generator generate -g typescript-angular -i http://my.backend.example/swagger/v1/swagger.json -o ./build/openapi"
4  }
5}
Conclusion
Having one file to define your API is helpful and can save you a lot of development time and prevent possible bugs caused by different models or API implementations in your frontend and backend code.
OpenAPI provides a good specification with helpful documentation. Additionally, many existing backends use Swagger for their API documentation, therefore it should also be possible to use this code generation for frontend applications where you cannot to modify the corresponding backend.
Due to the many supported languages and frameworks, it can be used in nearly every project, and the initial setup is not very hard.
In my current project, we use OpenAPI code generation for every new project and are very happy with it.
Let me know in the comments what you think about this approach and if you also have some OpenAPI experiences to share.
Sending Message To Specific Anonymous User On Spring WebSocket
In my current, I had the opportunity to develop a new application based on Vue.js in the frontend and Spring Boot in the backend. The backend should send updates to the frontend via a WebSocket connection so that users do not need to refresh the website to see the latest information.
Property Based Testing With Typescript
In my current project my colleague Michael Seifert introduced property based testing in our Python codebase. It was the first time I heard about it and it sounded fascinating, so I wanted to also implement it in our frontend code based on Vue.js with Jest as testing framework and TypeScript as programming language.