Blog
·
2 min read
·573 views
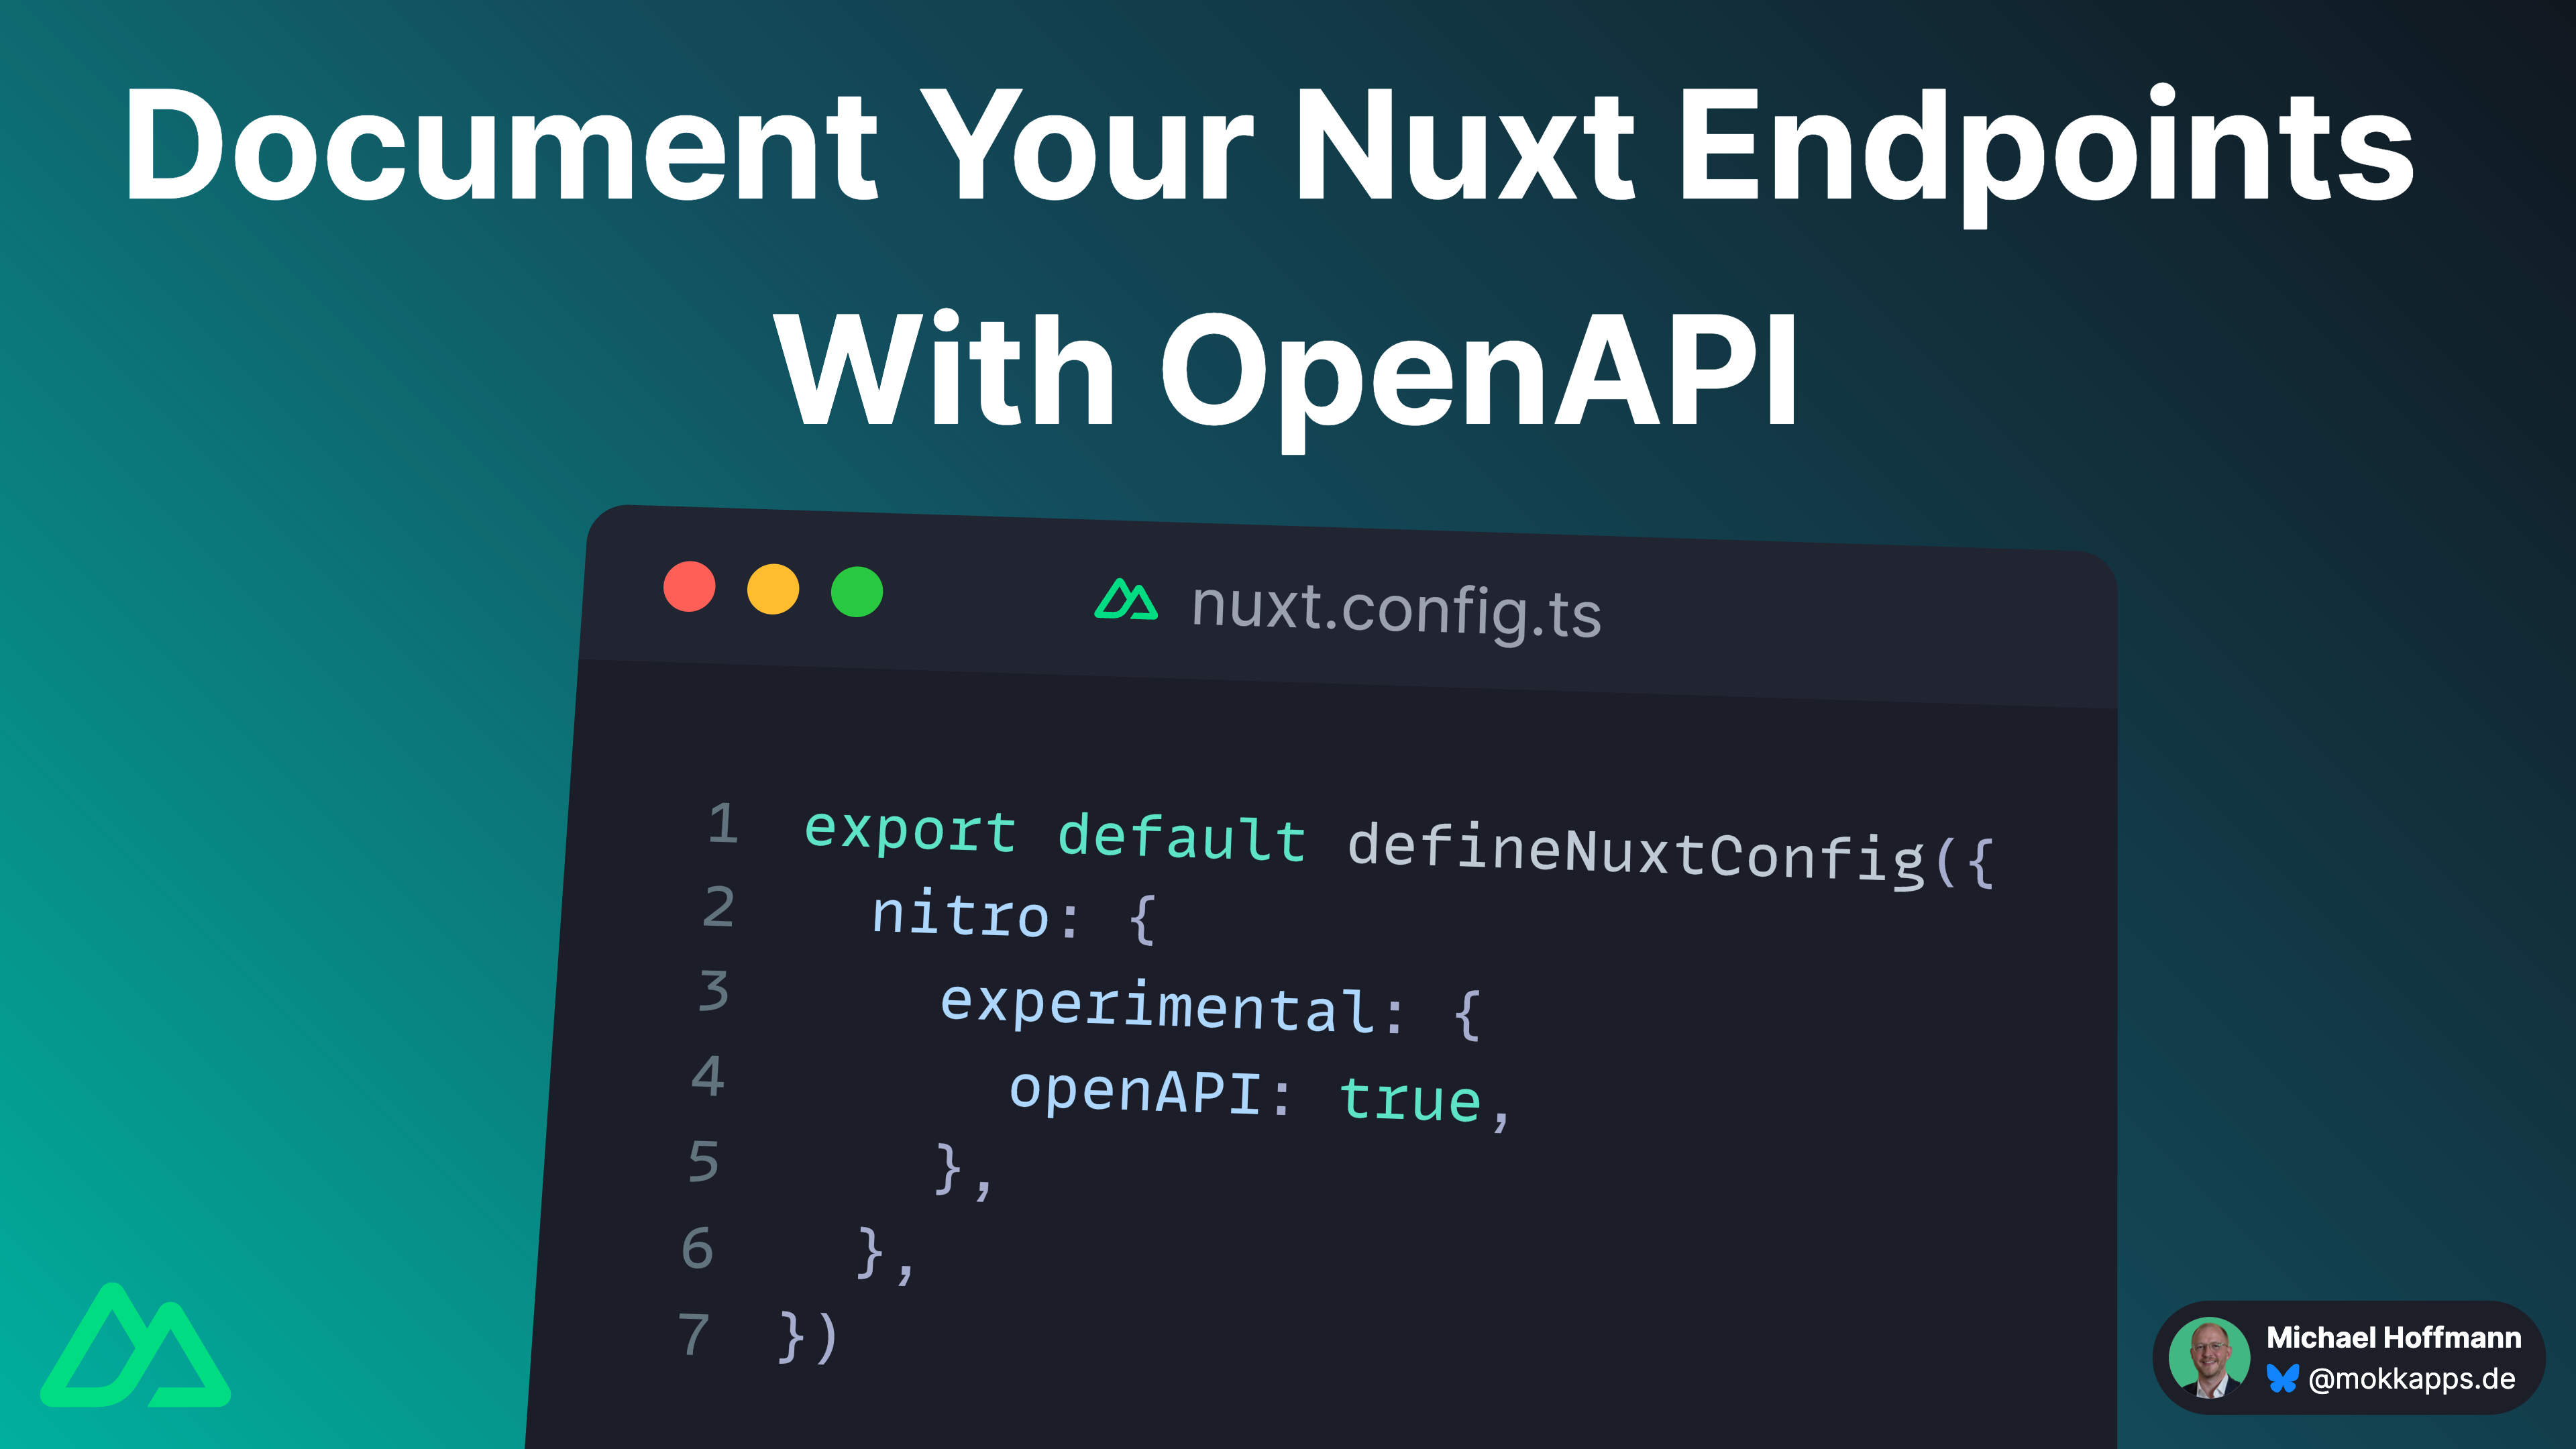
Document Your Nuxt Endpoints With OpenAPI and Visualize With Swagger or Scalar
Michael Hoffmann
@mokkapps
When you're building an API with Nuxt 3+, it's essential to have clear and accessible documentation. OpenAPI provides a structured way to describe your API, and tools like Swagger UI or Scalar make it easy to visualize and interact with your endpoints. In this article, we’ll explore how to document Nuxt 3 endpoints using OpenAPI and display them using Swagger UI or Scalar.
Enable OpenAPI in Nuxt 3
To enable OpenAPI in your Nuxt 3 project, you need to enable the experimental Nitro feature. You can do this by adding the following configuration to your nuxt.config.ts:
nuxt.config.ts
export default defineNuxtConfig({
  nitro: {
    experimental: {
      openAPI: true,
    },
  },
})
If you now start your Nuxt app locally, you can access the OpenAPI documentation at http://localhost:3000/_swagger or http://localhost:3000/_scalar.
These routes are disabled by default in production. To enable them, use the production key.
runtime allows middleware usage, and prerender is the most efficient because the JSON response is constant.nuxt.config.ts
export default defineNuxtConfig({
  nitro: {
    experimental: {
      openAPI: true,
    },
    openAPI: {
      production: 'runtime',
    }
  },
})
Visit the official Nitro documentation for further customization options.
Document Your Endpoints
By default, your endpoints will have no custom documentation like description text or information about the query parameters. To add such documentation, you can use the defineRouteMeta method in your server route file:
server/routes/api/test.ts
defineRouteMeta({
  openAPI: {
    tags: ['test'],
    description: 'Test route description',
    parameters: [{ in: 'query', name: 'test', required: true }],
  },
});

export default defineEventHandler(() => "OK");
This will add the route to the OpenAPI documentation with the specified tags, description, and parameters. The following picture shows the Scalar UI with the test route:

The next picture shows the Swagger UI with the test route:

StackBlitz Demo
Try it yourself in this demo:
Conclusion
If you liked this article, follow me on X to get notified about my new blog posts and more content.
Alternatively (or additionally), you can subscribe to my weekly Vue & Nuxt newsletter: