Blog
·
6 min read
·1.5K views
Unlocking the Power of v-for Loops in Vue With These Useful Tips
Michael Hoffmann
@mokkapps
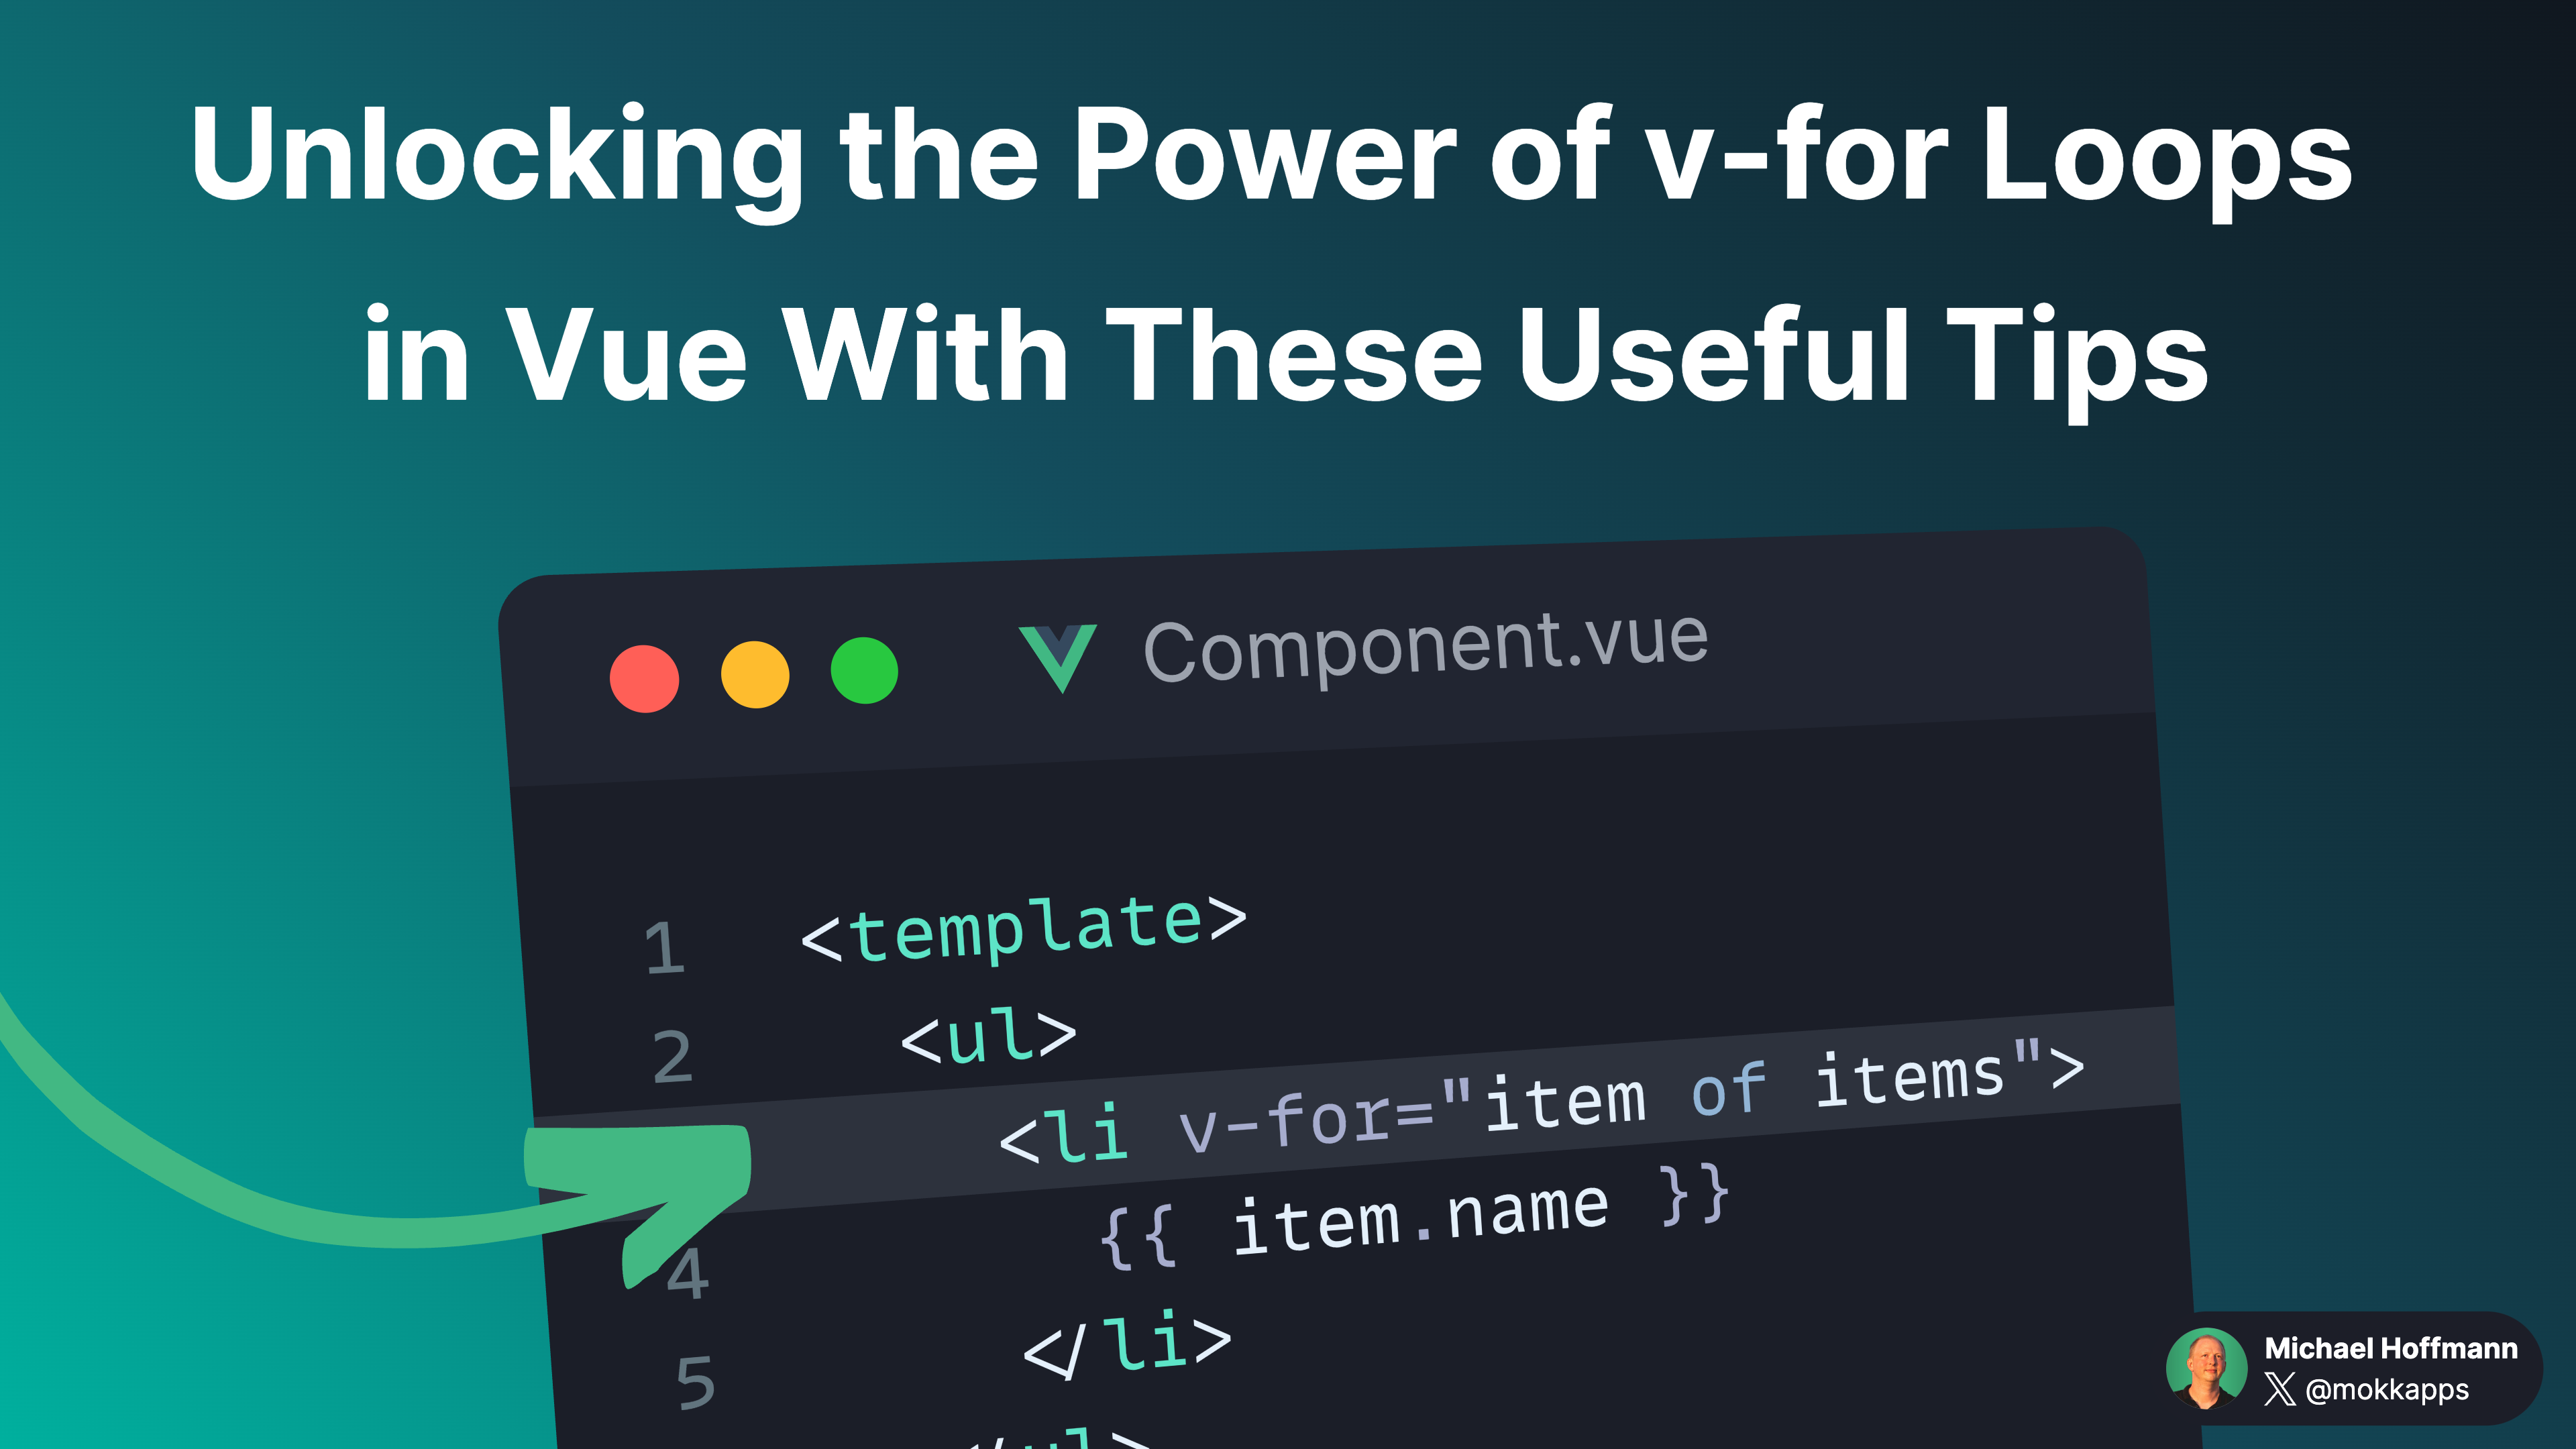
Looping through arrays and objects is a common task in Vue applications. The v-for directive is the perfect tool for this job. It is mighty, and you can use it in many different ways. In this article, I will show you some valuable tips and tricks to get the most out of the v-for directive.
Use correct delimiter
The v-for directive supports two different delimiters: in and of. The in delimiter is the default one.
I prefer to use the of delimiter for arrays because it is closer to JavaScript's syntax for iterators like in the for...of loop:
Component.vue
<script setup lang="ts">
import { ref } from 'vue'

const items = ref([
  { id: 'a-1', name: 'Apple' },
  { id: 'b-1', name: 'Mango' },
  { id: 'c-1', name: 'Banana' },
])
</script>

<template>
  <ul>
    <li v-for="item of items">
      {{ item.name }}
    </li>
  </ul>
</template>
If I want to loop through an object, I use the in delimiter because it is closer to JavaScript's syntax for iterating over object properties:
Component.vue
<script setup>
import { ref } from 'vue'

const myObject = ref({
  title: 'How to do lists in Vue',
  author: 'Jane Doe',
  publishedAt: '2016-04-10',
})
</script>

<template>
  <ul>
    <li v-for="(value, key) in myObject">
      Key: "{{ key }}", Value: "{{ value }}"
    </li>
  </ul>
</template>
Destructuring objects
It's possible to destructure the current item in the loop, which is useful if you want to access the current item's properties directly:
Component.vue
<script setup>
import { ref } from 'vue'

const items = ref([
  { id: 'a-1', name: 'Apple' },
  { id: 'b-1', name: 'Mango' },
  { id: 'c-1', name: 'Banana' },
])
</script>

<template>
  <ul>
    <li v-for="{ name } in items">
      Title: {{ name }}
    </li>
  </ul>
</template>
Iterating over numbers
You can also use the v-for directive to iterate over numbers. This is useful if you want to render a list of elements with a specific number of items. For example, you can use it to render a list of 10 items:
Component.vue
<template>
  <ul>
    <li v-for="number in 10">{{ number }}</li>
  </ul>
</template>
Accessing index
Sometimes, you need to access the current item's index in the loop. You can do this by using the second argument of the v-for directive:
Component.vue
<script setup lang="ts">
import { ref } from 'vue'

const items = ref([
  { id: 'a-1', name: 'Apple' },
  { id: 'b-1', name: 'Mango' },
  { id: 'c-1', name: 'Banana' },
])
</script>

<template>
  <ul>
    <li v-for="(item, index) in items" :key="item.id">
      #{{ index + 1 }} - {{ item.name }}
    </li>
  </ul>
</template>
Avoid v-if in v-for loops
Using v-if and v-for on the same element is not recommended due to implicit precedence.
In this case, you should wrap the v-for loop in a <template> element and use v-if on the <template> element instead, which is also more explicit:
<template>
  <li v-for="item in items" v-if="!item.isComplete">
    {{ item.name }}
  </li>
</template>
<template>
  <template v-for="item in items">
    <li v-if="!item.isComplete">
      {{ item.name }}
    </li>
  </template>
</template>
Use key attribute
It is recommended to provide a key attribute with v-for whenever possible. key is a special attribute that lets us give hints for Vue's rendering system to identify specific virtual nodes.
Let's assume we have a list of todos and want to add a new todo. We can use the splice() method to insert a new todo at a specific index. If we don't provide a key attribute, Vue will be unable to identify the new todo and will not update the UI correctly.
First, let's take a look at the TodoItem component:
TodoItem.vue
<script setup lang="ts">
import { ref, onMounted } from 'vue'

interface Props {
  todo: {
    id: number
    name: string
    completed: boolean
  }
}
const props = defineProps<Props>()

const todoName = ref('')
const localTodoBageColor = computed(() => {
  return props.todo.name !== todoName.value ? 'red' : 'gray'
})

onMounted(() => {
  todoName.value = props.todo.name
})
</script>

<template>
  <div class="flex items-center gap-4">
    <div class="rounded-lg border border-gray-300 p-2 dark:border-gray-500">
      <UCheckbox color="white" size="lg" :model-value="props.todo.completed" :label="todo.name" />
    </div>
    <div class="flex items-center gap-2">
      <span class="text-sm text-gray-300 dark:text-gray-500">Local todo name:</span>
      <UBadge variant="soft" :color="localTodoBageColor">{{ todoName }}</UBadge>
    </div>
  </div>
</template>
This simple component renders a todo item passed as a prop and has a local state to store the todo name, which is updated if the component is mounted.
Let's take a look at an interactive example without a key attribute. We have a list of todos and want to insert a new todo at a specific index, try it yourself by clicking the Insert new Todo button:
Local todo name:
Local todo name:
Local todo name:
ForLoopWithoutKey.vue
<script setup lang="ts">
import { ref } from 'vue'

const todos = ref([
{ id: 0, name: 'Buy milk', completed: false },
{ id: 1, name: 'Hit the gym', completed: false },
{ id: 2, name: 'Read a book', completed: true },
])

const addNewTodo = () => {
todos.value.splice(2, 0, { id: 3, name: 'Learn Vue', completed: false })
}
</script>

<template>
<UCard>
  <div class="flex flex-col gap-4">
    <UButton class="w-32" @click="addNewTodo">Insert new Todo</UButton>
    <TodoItem v-for="todo in todos" :todo="todo">
      <UBadge variant="soft" color="white" size="lg">{{ todo.name }}</UBadge>
      <UCheckbox color="white" :model-value="todo.completed" />
    </TodoItem>
  </div>
</UCard>
</template>
::
The new Learn Vue todo is inserted at the correct index, but the local todo name is not updated. This is because Vue is not accurately tracking the index as being new. Thus, the component will never re-mount, so our localTodoName will never get updated. Instead, the value of localTodoName will be that of the previous todo at that index.
You might have guessed it, we can simply fix that problem by providing a key attribute to our v-for loop:
Local todo name:
Local todo name:
Local todo name:
ForLoopWithoutKey.vue
<script setup lang="ts">
import { ref } from 'vue'

const todos = ref([
{ id: 0, name: 'Buy milk', completed: false },
{ id: 1, name: 'Hit the gym', completed: false },
{ id: 2, name: 'Read a book', completed: true },
])

const addNewTodo = () => {
todos.value.splice(2, 0, { id: 3, name: 'Learn Vue', completed: false })
}
</script>

<template>
<UCard>
  <div class="flex flex-col gap-4">
    <UButton class="w-32" @click="addNewTodo">Insert new Todo</UButton>
    <TodoItem v-for="todo in todos" :key="todo.id" :todo="todo">
      <UBadge variant="soft" color="white" size="lg">{{ todo.name }}</UBadge>
      <UCheckbox color="white" :model-value="todo.completed" />
    </TodoItem>
  </div>
</UCard>
</template>
::
Array Change Detection Caveats
You must carefully use non-mutating methods on your array in v-for loops, such as filter() or map(). These methods return a new array, which means that Vue cannot detect changes to the array.
If you want to use these methods, you need to assign the new array to the original array:
Component.vue
<script setup lang="ts">
import { ref } from 'vue'

const items = ref([
  { id: 'a-1', name: 'Apple' },
  { id: 'b-1', name: 'Mango' },
  { id: 'c-1', name: 'Banana' },
])

// ⚠️ items.value.filter((item) => item.id.startsWith('a'))
items.value = items.value.filter((item) => item.id.startsWith('a'))
</script>

<template>
  <ul>
    <li v-for="item in items">
      {{ item.name }}
    </li>
  </ul>
</template>
If you use mutation methods like push(), pop(), shift(), unshift(), splice(), sort(), or reverse(), you don't need to assign the new array to the original array because these methods mutate the original array.
Conclusion
I hope you learned something new about the v-for directive in this article. It's one of the most powerful directives in Vue, and you can use it in many different ways. If you want to learn more about the v-for directive, check out the official documentation.
If you liked this article, follow me on X to get notified about my new blog posts and more content.
Alternatively (or additionally), you can subscribe to my weekly Vue newsletter: